Blog 27: Plastering and more...
Over the last month we have been plastering our straw walls, doing some cob in-fill also putting up the ceiling battens and ceiling insulation. Time flies when you’re getting your hands dirty having fun.. and we have the satisfaction of seeing our progress every step of the way..


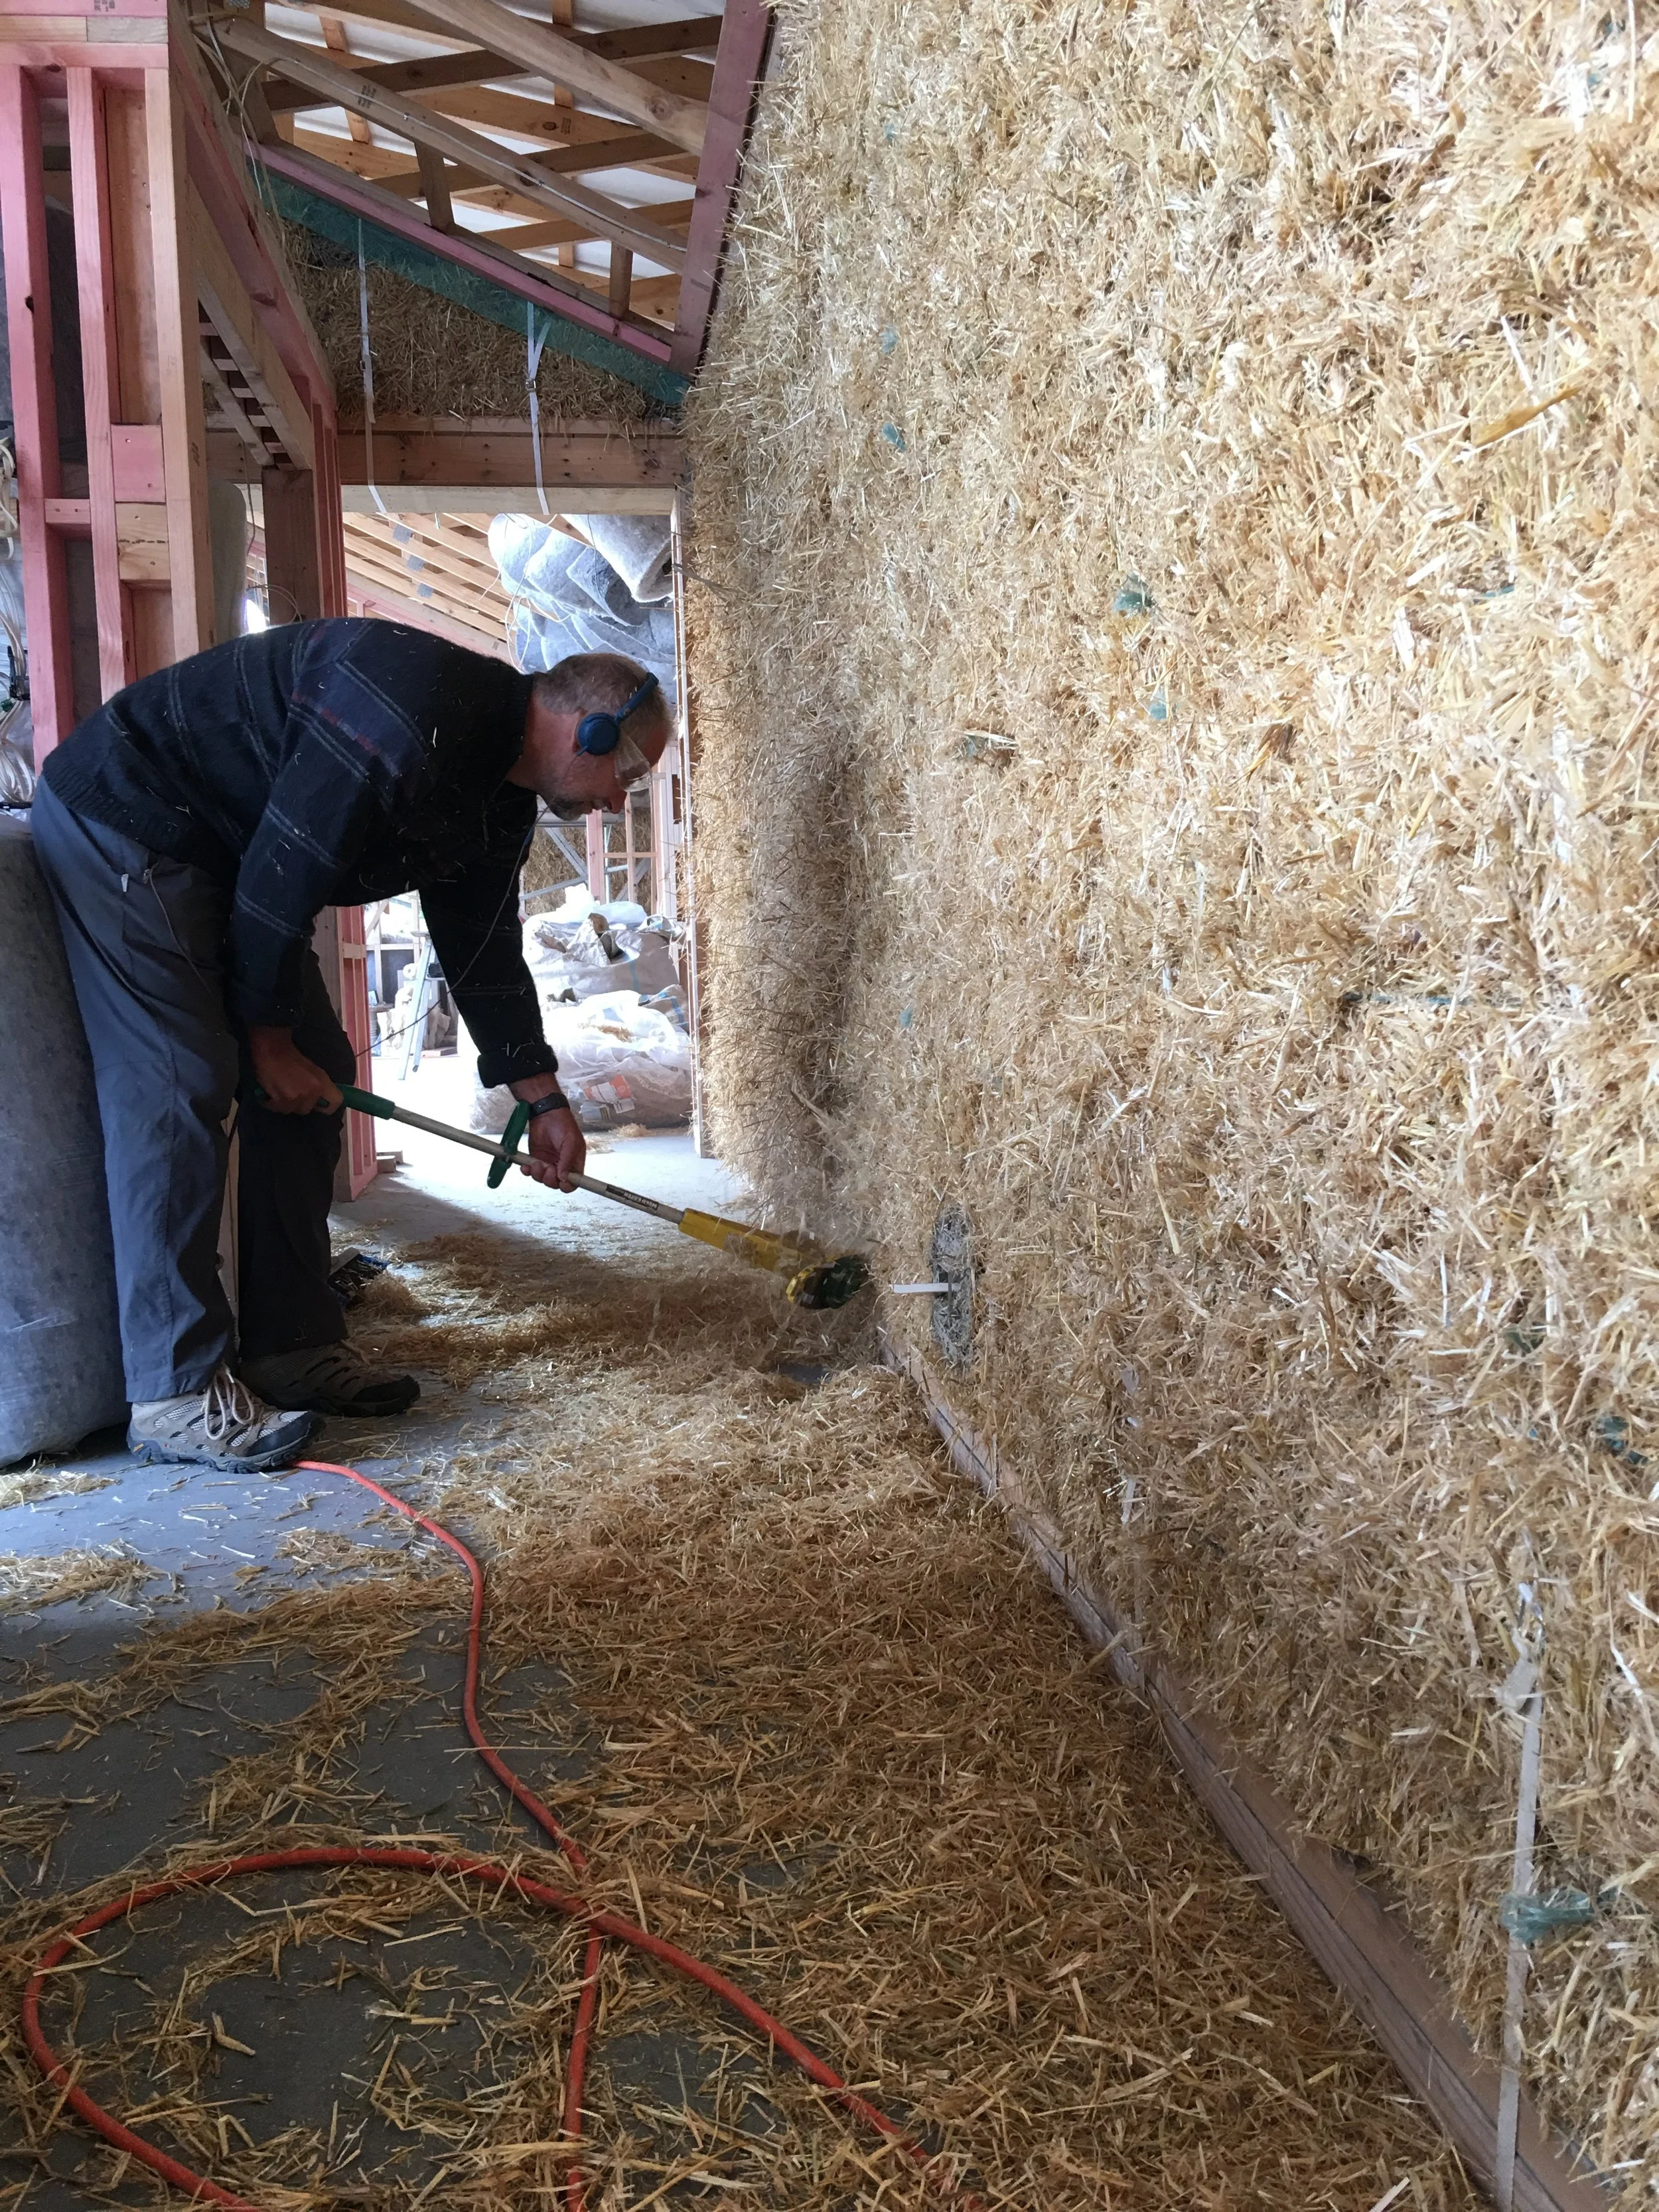
There is a lot of preparation required ahead of the plastering; cutting and stapling up the mesh, taping external joints to timber frames and the bottom plate for air tightness, striming the walls to knock off the loose straw and straightening the walls a final time with the big mallets.

Mixing mud is very labour intensive which is very good for my fitness levels and waistline (-10kgs so far..) and the days just wiz by. We start by shovelling clay into water in a big drum while mixing it with a big electric mixer…, this creates the clay slip (a slurry of clay and water) which I then tip through a screen, removing anything that would block Matilda the plaster pump, into a large holding tub. We have four of these holding tubs and they each hold several drums of clay slurry.


Pat starts the base coat plastering by pumping/spraying the clay slip onto the straw walls. We massage the clay slip into the straw bales using our palm heels, this keys the clay into the straw bales so the straw is coated with clay and the plaster coat which follows can then bind to it. At this point any voids in the wall are easy to spot and we fill them with wool insulation or cob ahead of the plastering.
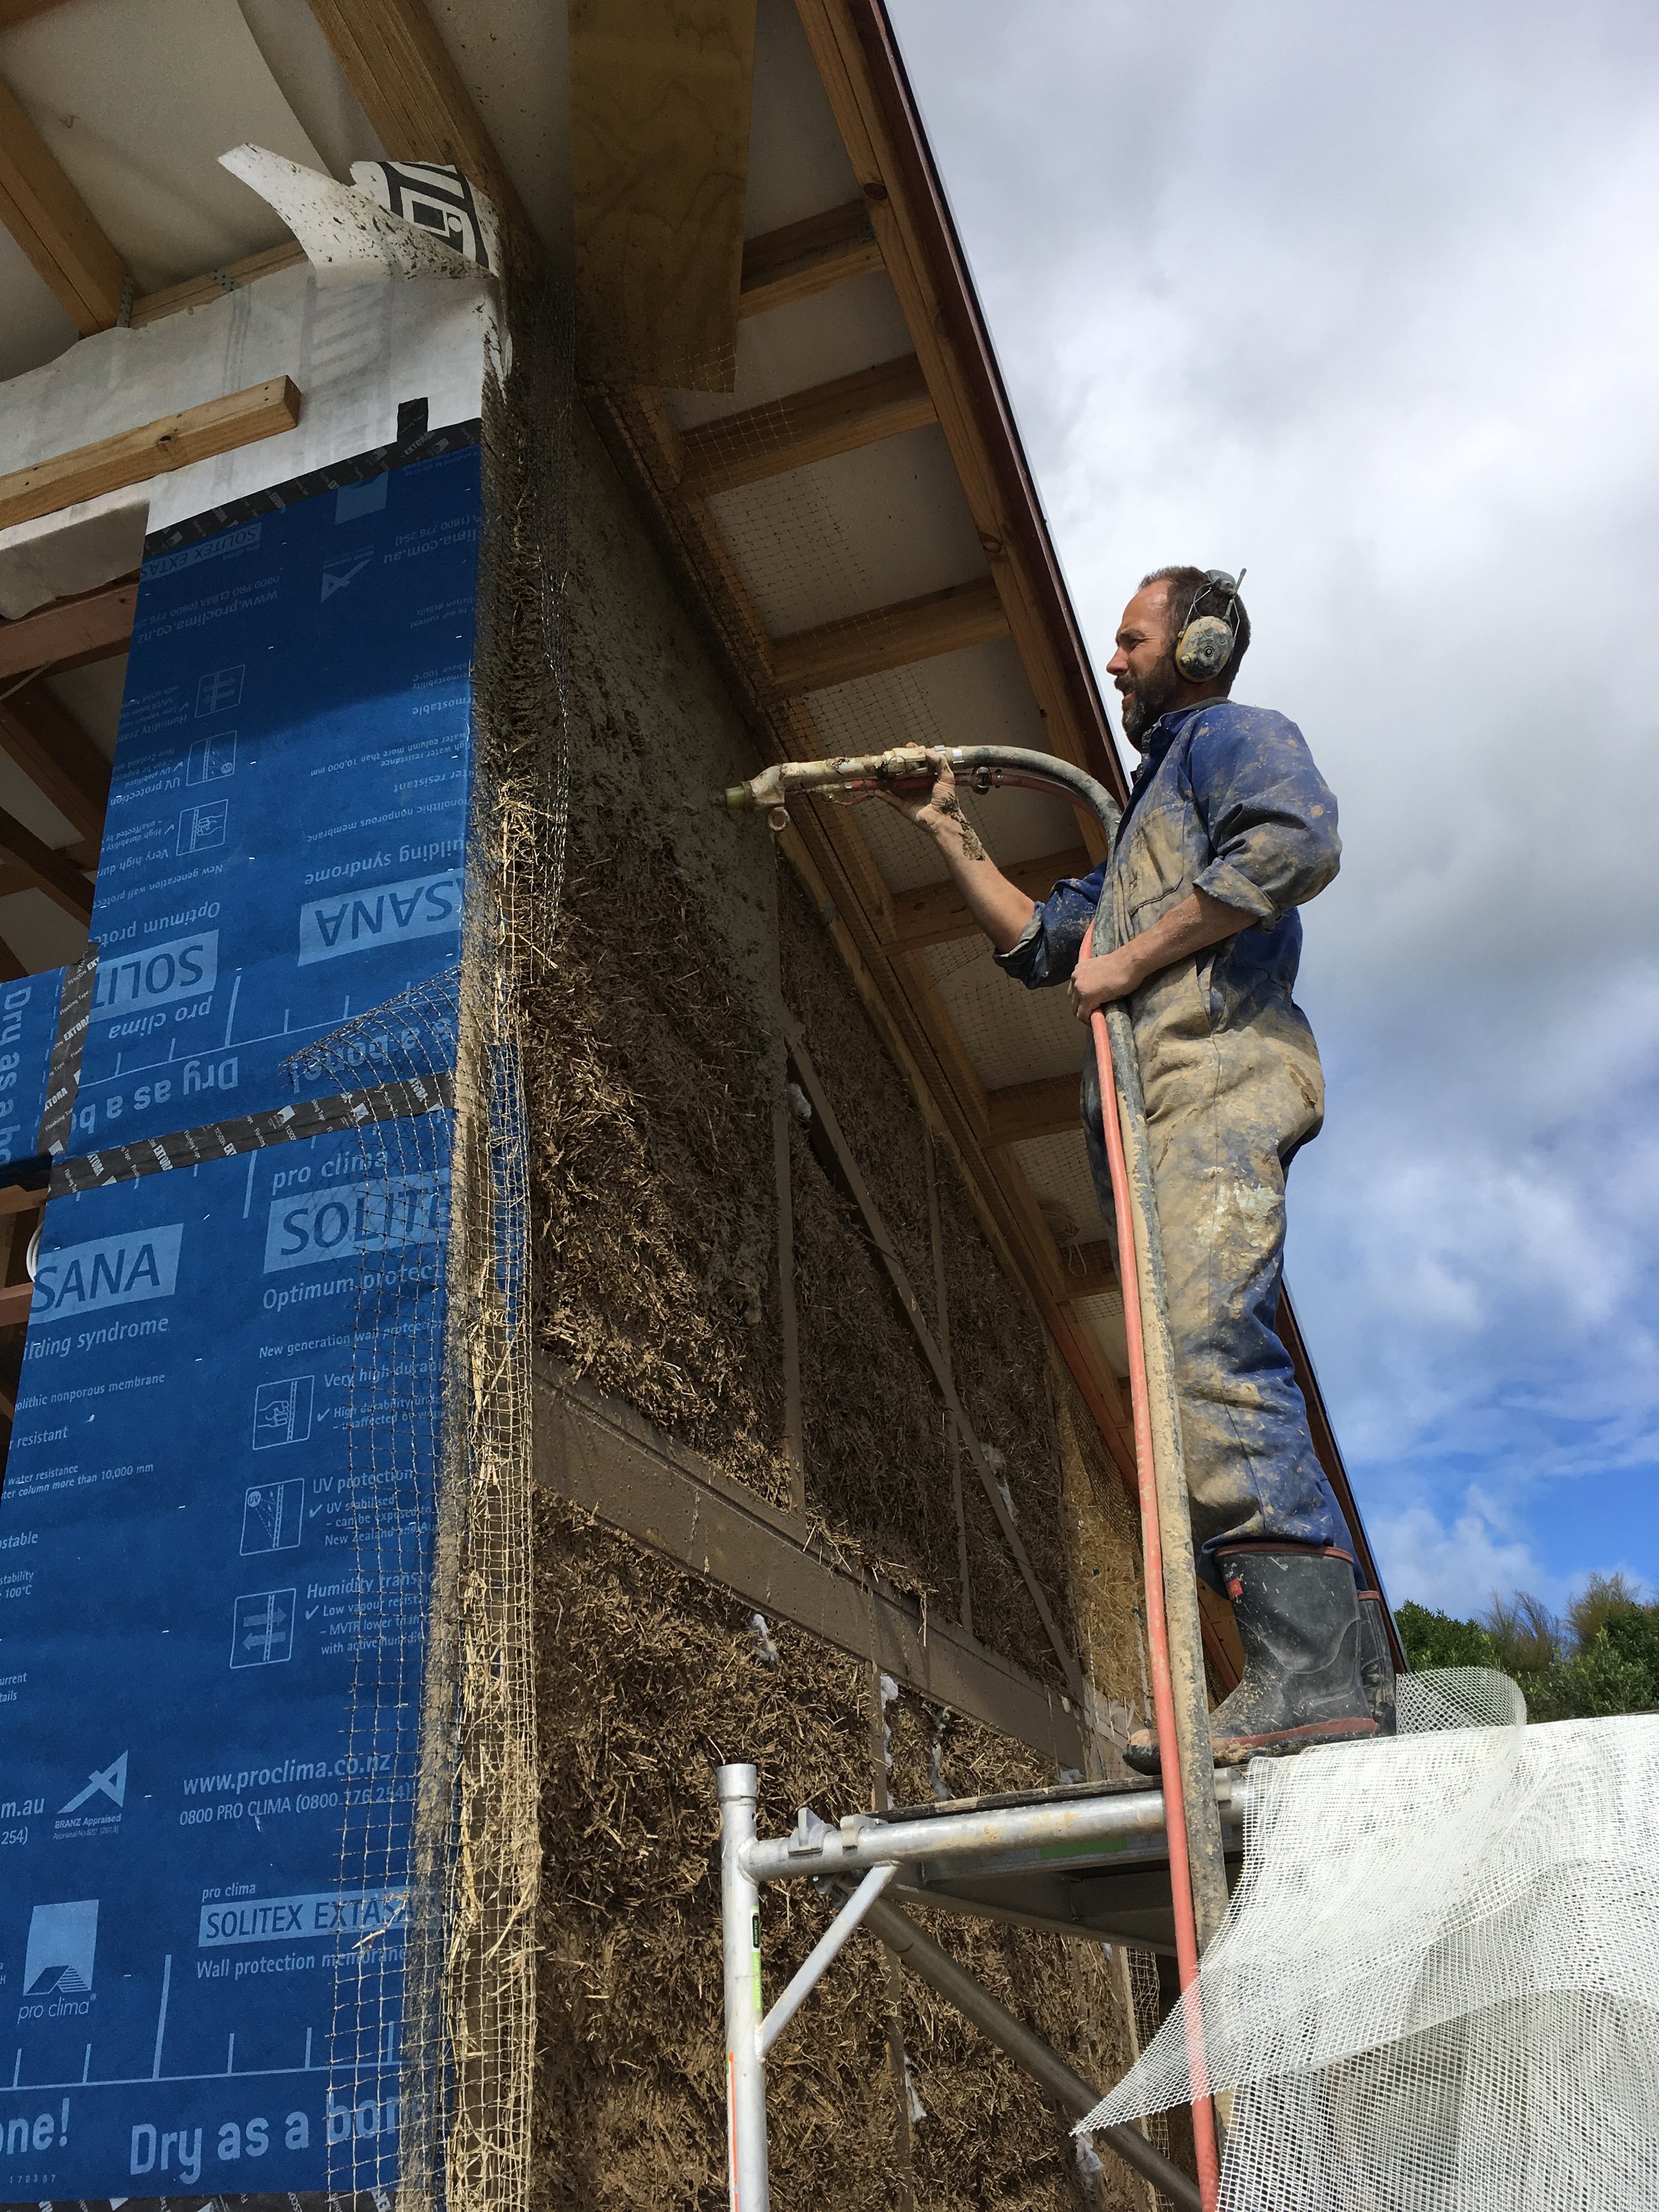


Then we start mixing the clay plaster in Matilda, with a recipe that can vary in quantity day to day, but includes; clay slurry to bind, sand for fines, finely chopped straw and wood pulp for fiber and additional water as needed to get the consistency right. Pat pumps it onto the walls quite thick as I mix and run Matilda to keep him supplied. The first plaster base coat is then trowelled into the mesh creating our wall… The plaster base coat takes quite a while to dry so we started plastering the interior straw walls, as they would take the longest to dry and then moved onto the exterior walls.

Plastering in the mesh

Same wall first plaster base coat..

Interior wall starting to dry

Interior Troweled plaster base coat

Mesh still round the door frame, and yes therre is the straw inside the wall!

Exterior wall - prepared straw to the right, slip coat to bottom left and troweled plaster base coat top left..
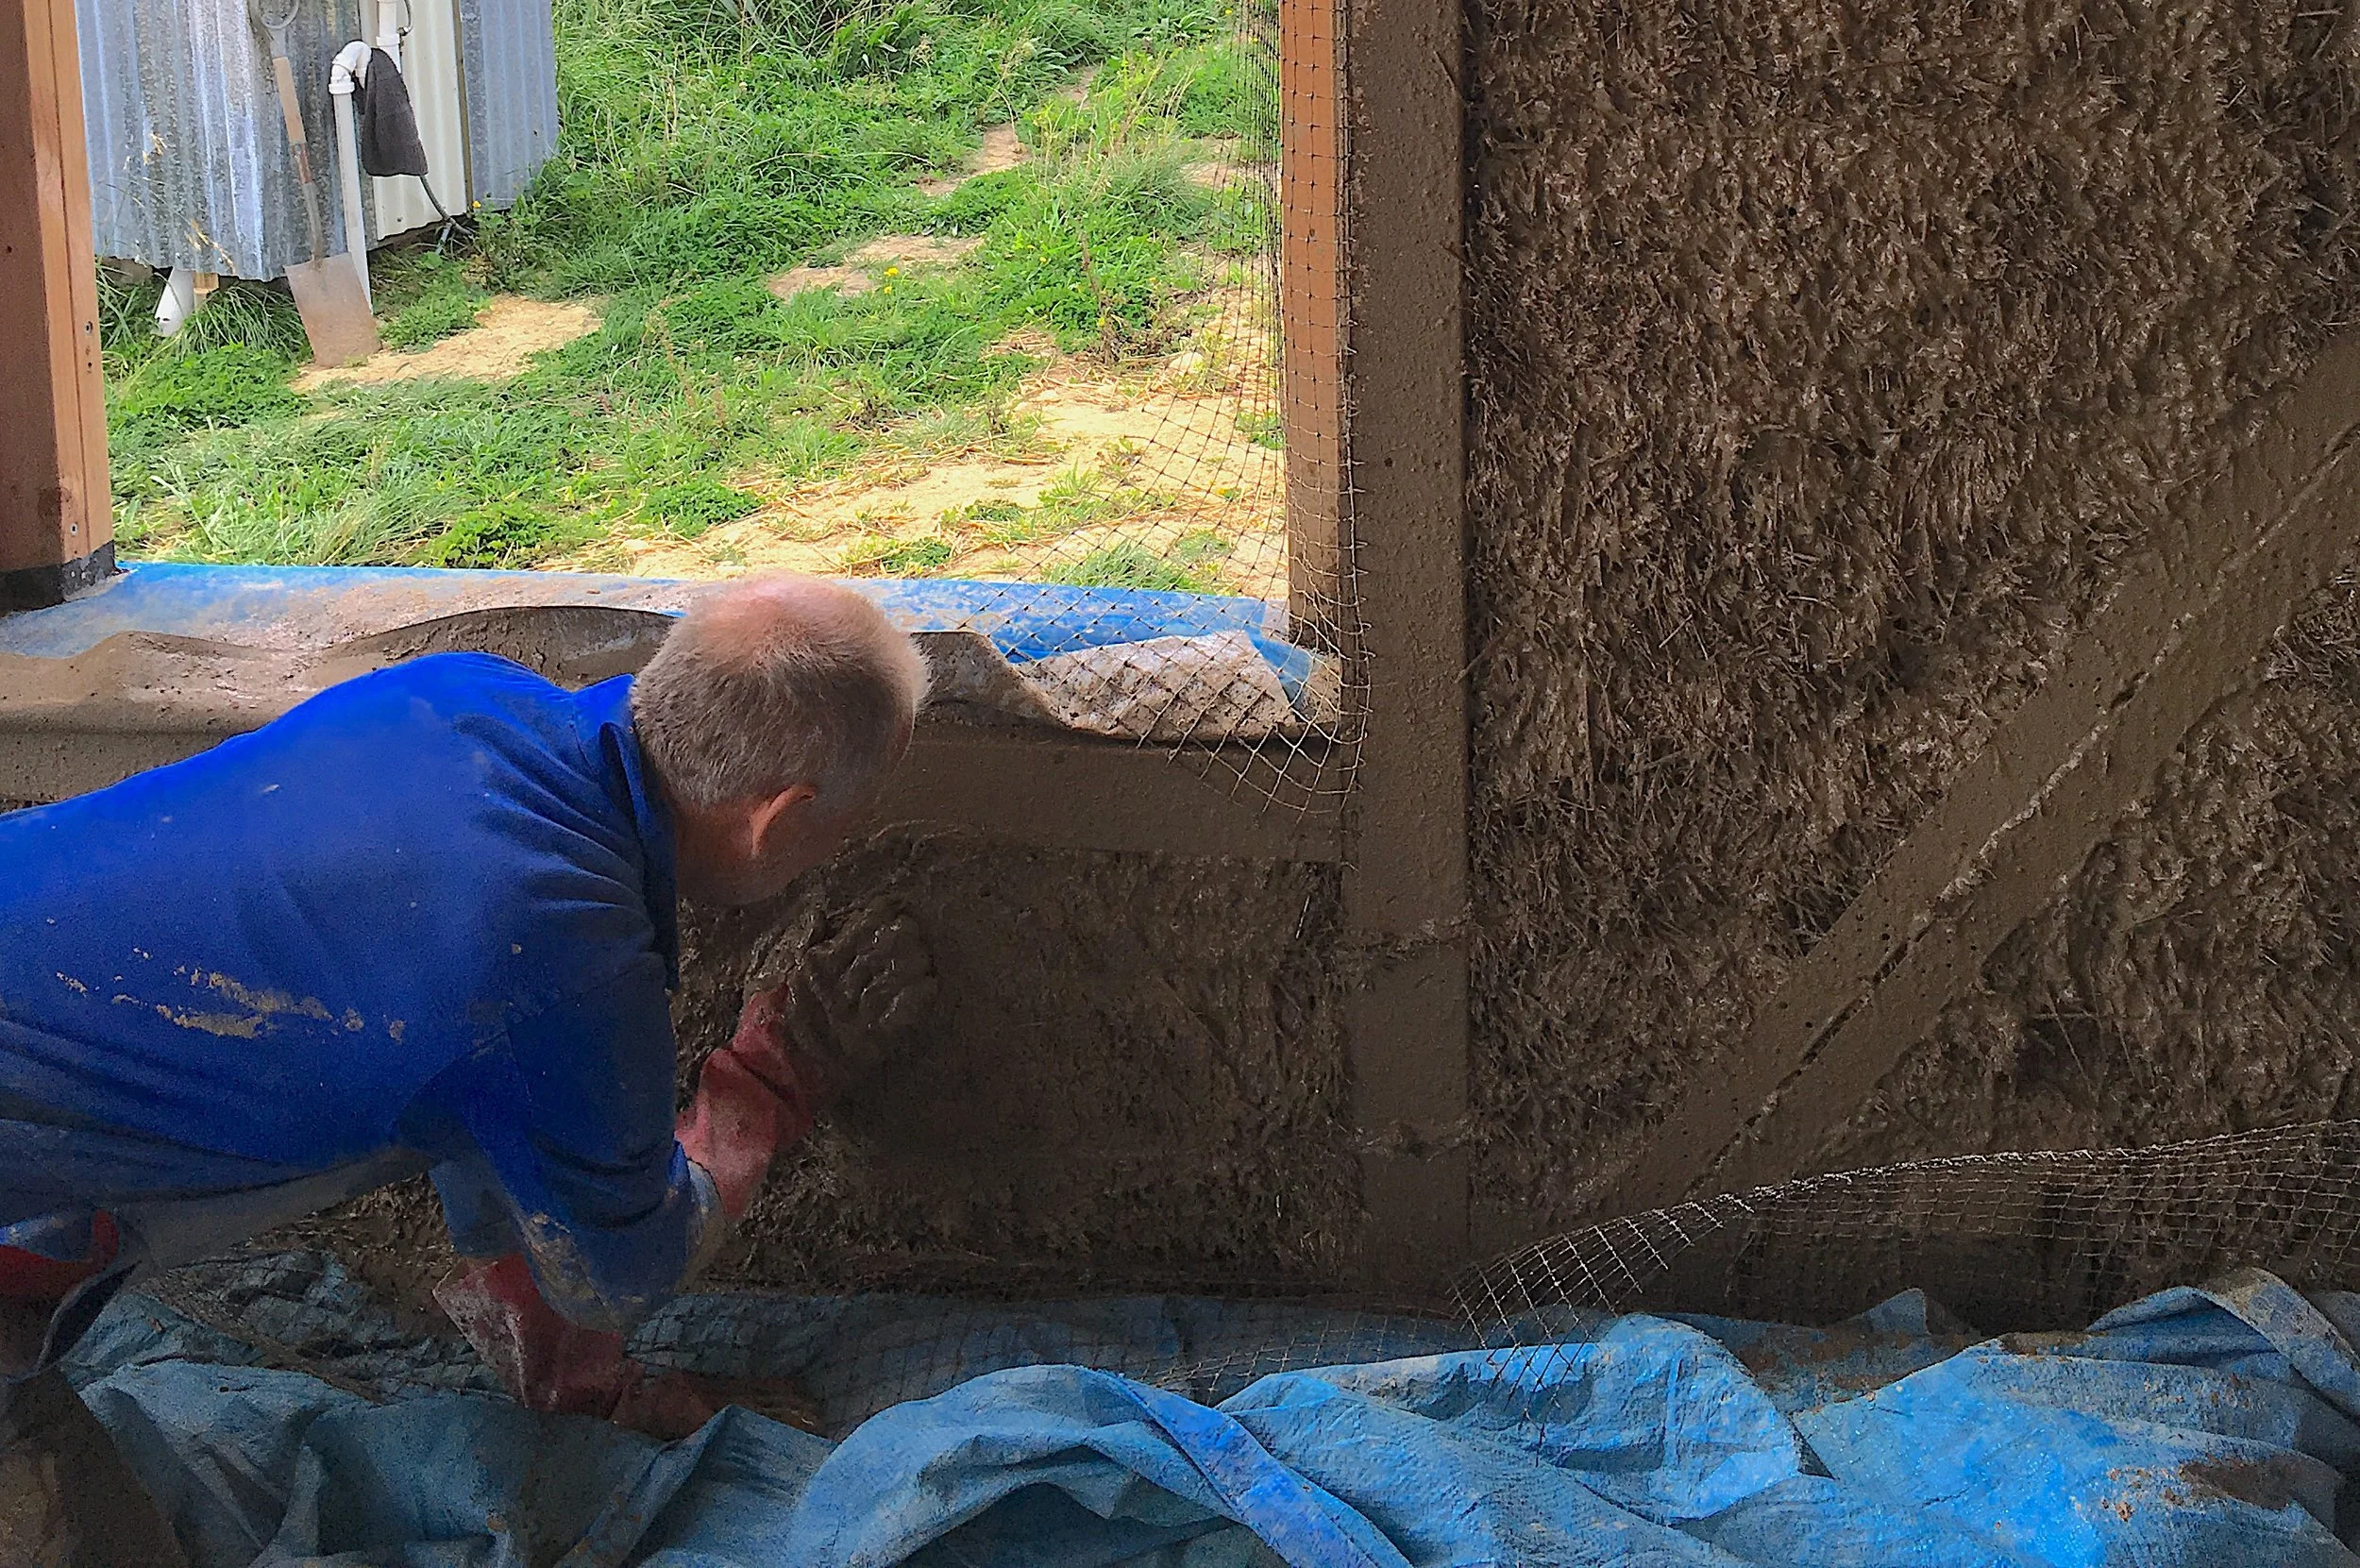
Alessandra is building our clay/straw cob walls on-site to fill in the corners and curves where big straw bales weren’t practical to use. These are quite labour intensive to build, and when completed they dry out to a hard surface - not quite rammed earth, but solid so good for external corners and ends of walls..


Alessandra and John have also been busy upcycling the kitchenette cabinet. We now have a soft close bin drawer below the sink and the rebuild now accommodates our small induction hob and its ventilation and the kitchen sink and its plumbing, a lot of detailed work to bring it all together - looking beautiful!


Nils has been working with us a few days a week, and while Pat and I are plastering he is keeping the timber construction moving ahead.


Nils has finished up the framing for our built in wardrobes, kitchenette and ensuite etc.. and has moved onto installing the ceiling battens and ceiling insulation which require a lot of attention to detail as we are having exposed ply sheets on the ceilings.

Kenny and Ayden our plumbers have also been out on-site, busy as ever.. burning a lot of calories.. I don’t think Ayden ever walks as everything is done at least at a trot, in fact they move so fast we have hardly any pictures of them :-)
It’s important to get the pipes in the ceiling void installed as the ceiling battens and insulation are going in - so timing is good.
All of the plumbing is in copper, and Kenny has been taking extra care soldering the joints as we have exposed straw bales in the house.
They have setup now for the showers, toilets, bidet and kitchen sinks and have started preparing for the hot water cylinder install.
Pat and Nils have been off-site as well with another client this month, creating a beautiful rammed earth wall for a local winery using using soils from their own vineyard. They have also launched a cool new website at www.strawhome.co.nz, take a look, share a link with your friends :-)
We had a visit from a local top dressing plane, doing low level passes and acrobatic turns in a Fletcher FU-24 straight in front of us - front row seats for an awesome aerial show!


And while all this is going on, we have prepared the base for the Pizza Oven and will start building the brick base, followed soon after by the oven itself.. the subject of a future blog...

We have just crossed the mid-way point of our build and our plastering journey is still mid-flight. We have finish coats of clay to put onto the interior walls and have coats of lime plaster to put onto the exterior, with drying time between the coats, so more on this subject to come, including our latest Maraetotara Strawbale video update - Part 3: Plastering....
Thanks to all helping to manifest this dream!