Blog 36: Ceilings
Another really big, time consuming, piece of the building puzzle.. putting up the ceilings.

While Pat and I were pumping mud onto the walls outside, Nils has been very busy inside. He took on the seemingly endless task of putting up ceiling battens and installing two layers of Terralana wool ceiling insulation, for a total of 400mm thick , giving us an excellent R8 insulation rating into the ceiling void.


Working like a modern day Michelangelo in tight spaces with your arms above you head all day, thanks Nils! we really appreciate the effort and also the care to set up all the levels and spacings for our exposed ply ceiling.

Nils shoots the ceiling in the B&B flat, this one we shoot all the way with the nail gun as it will be covered with another ply ceiling that matches the “less intense” ceiling pattern of the rest of the house.
You may have noticed the different batten spacings in the photos, we have a tight square pattern in the B&B flat and garage as the ceiling there is a diaphragm, meaning that it is structural and braces the walls and roof, and in the rest of the house the battens are laid out in a wider rectangular pattern for nailing along the edges of each sheet of plywood.
The ply ceilings have industrial style exposed nail heads, which means a lot of time and care must be taken in marking and then neatly nailing them off. In the diaphragm ceiling there are a huge number of nails, for example to put up just 1/3rd of the garage ceiling we used more than a thousand nails - there are some harsh words from time to time for the engineers who specified the nailing pattern :-)
Every ply sheet that goes up is first dressed on its edges with a plane, given a light sand where needed by Alessandra, and then oiled with Naturalhouseco Danish oil.
A laser and chalk lines are used to set up the sheet placement, we then mark up the ply sheets for nailing, shoot the nails partially into the ply using a nail gun with a finishing tip and then hammer each nail home by hand.
It’s a BIG job..
Nils started the ceiling install in the B&B flat and then Pat and I made a start on the garage so we could get enough ceiling in place for the garage door to be installed to complete closing in the house - its Winter !

Pat using his height to our advantage..
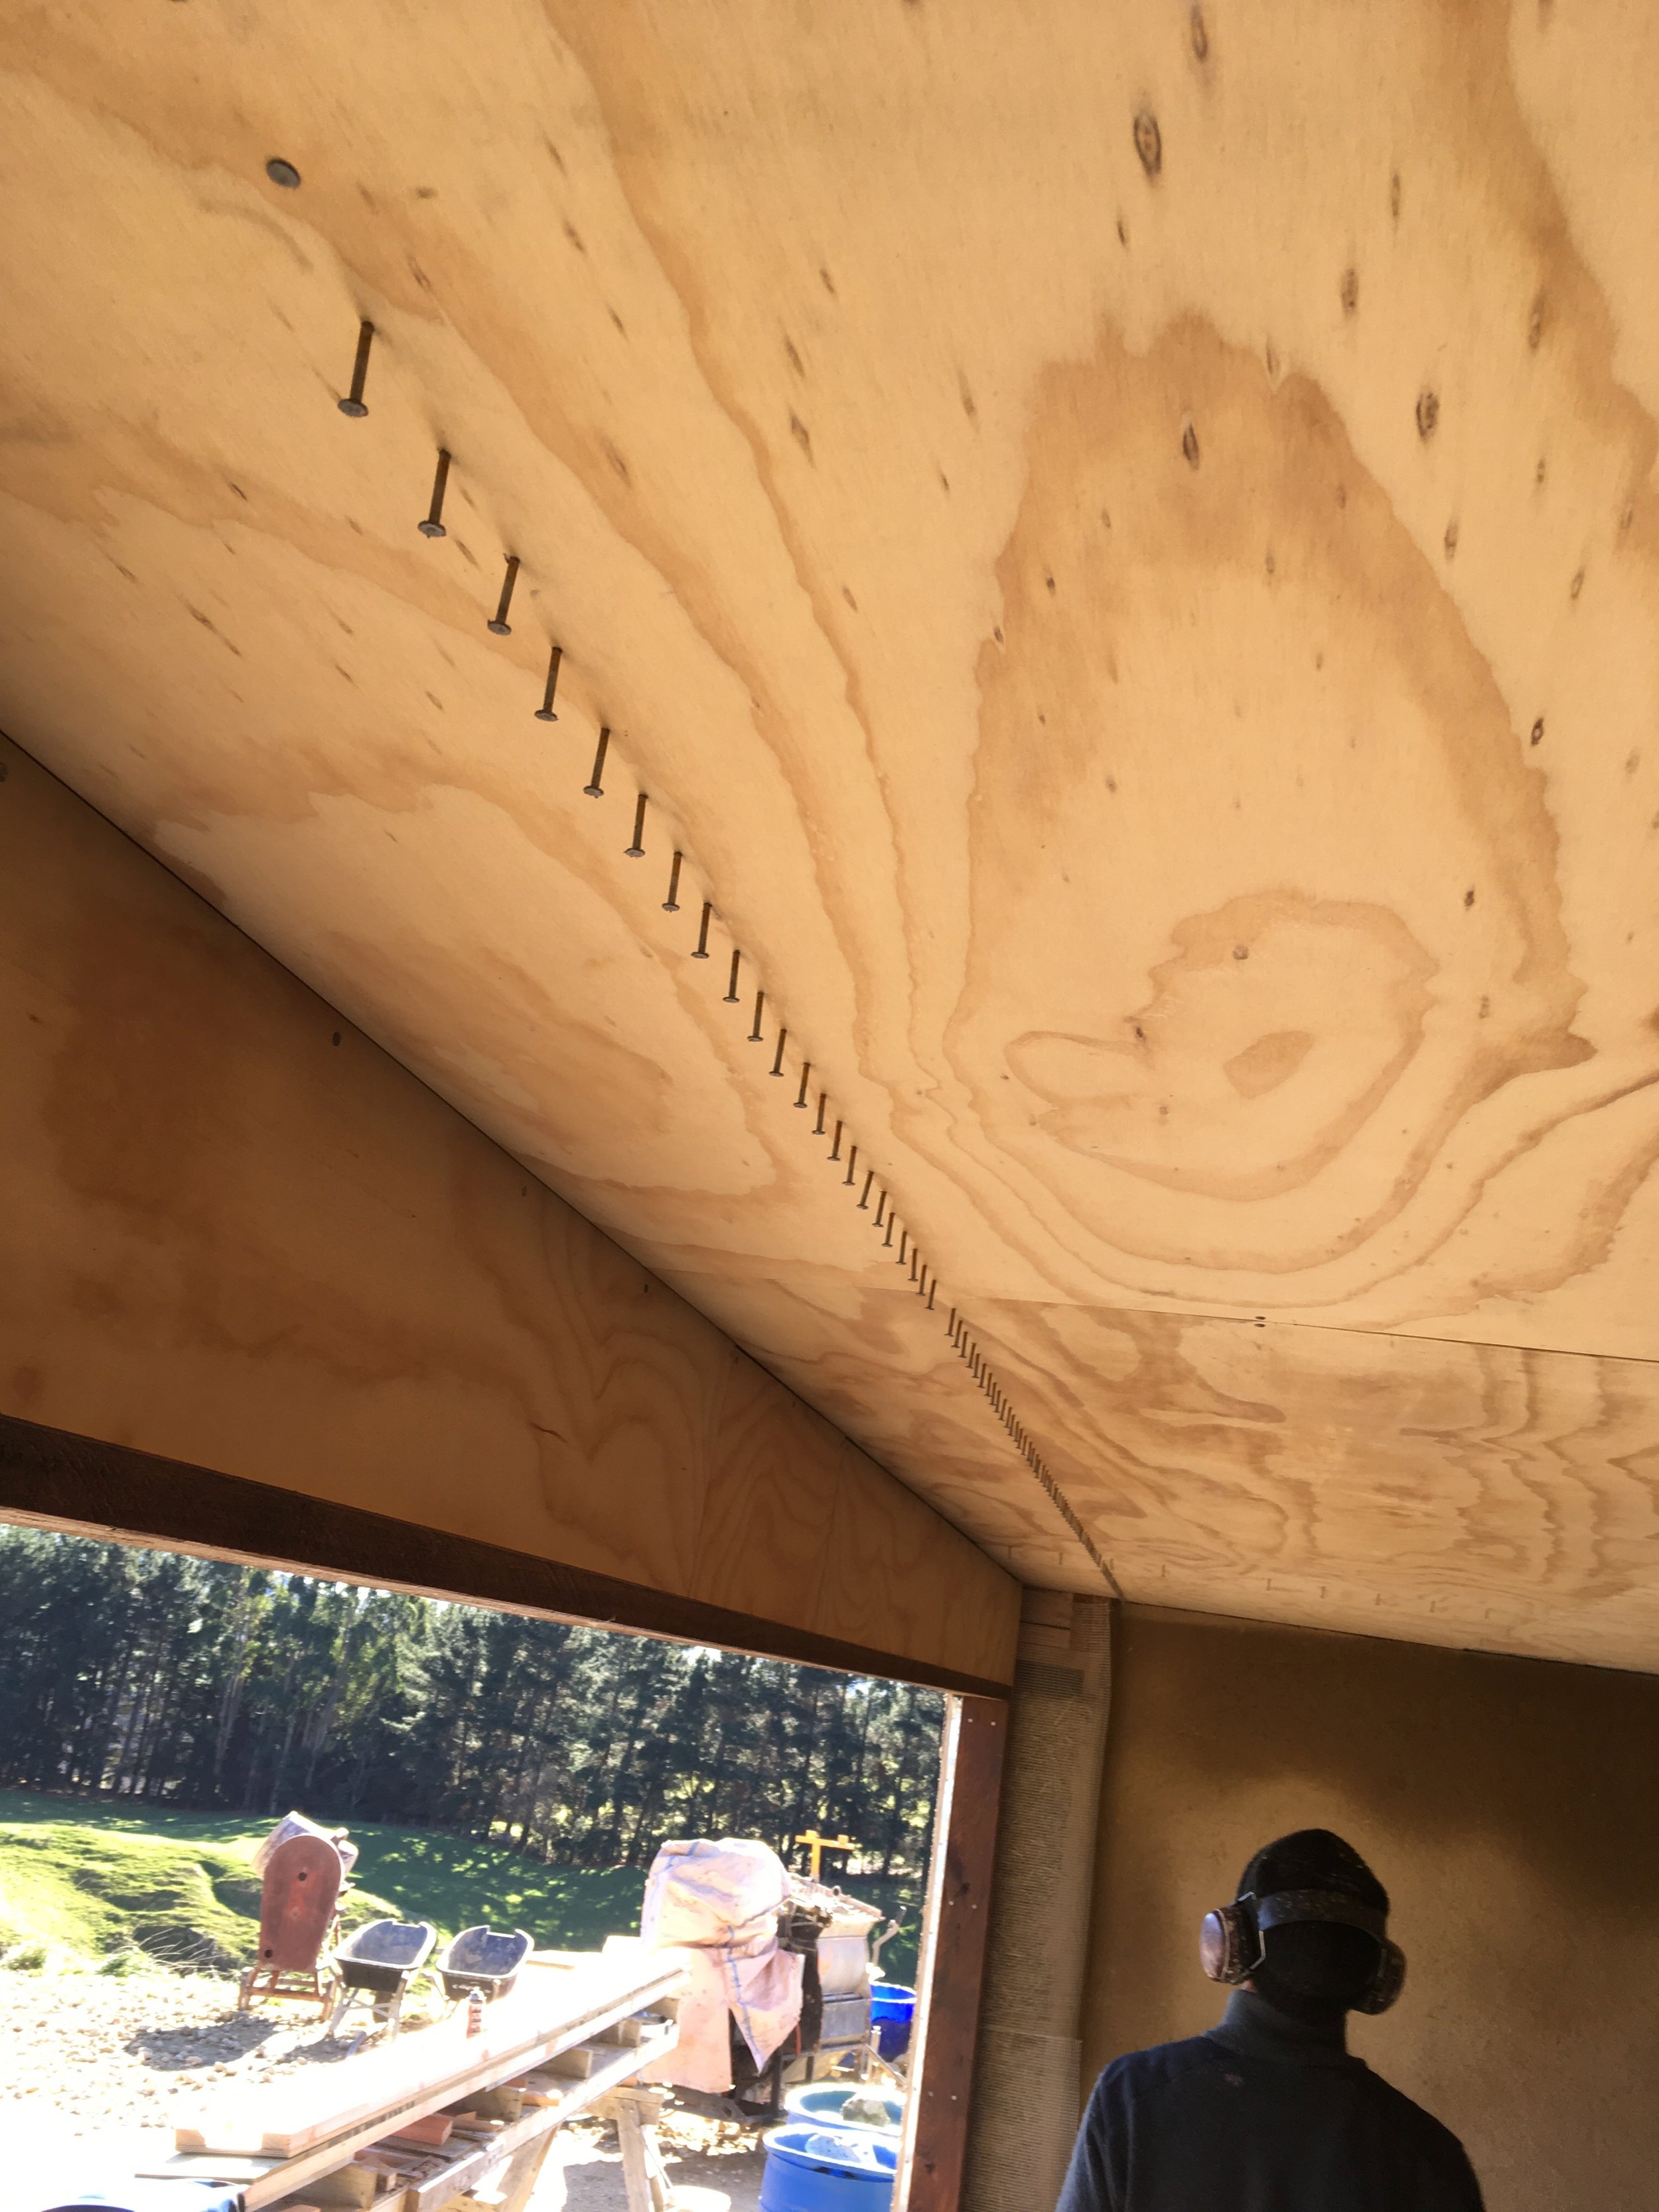
Nailing pattern for the edge of the diaphragm

Pat demonstrating his commitment! finishing nailing the garage ceiling after dark with a head lamp so we could install the garage door the next day..
We got the garage ceiling up in time and the Superlift garage door has been installed - so we are fully closed in, Yeehhhaaarrr!!!
There is plenty more to do overhead and we have all the ply from Tumu’s to compete the ceilings on-site now, so an update will be included in a future blog showing you the finished look.