Blog 38: All fired up!
I promised another oven update when we had cooked our first pizzas, and here it is :-)
Since the last pizza oven blog post…
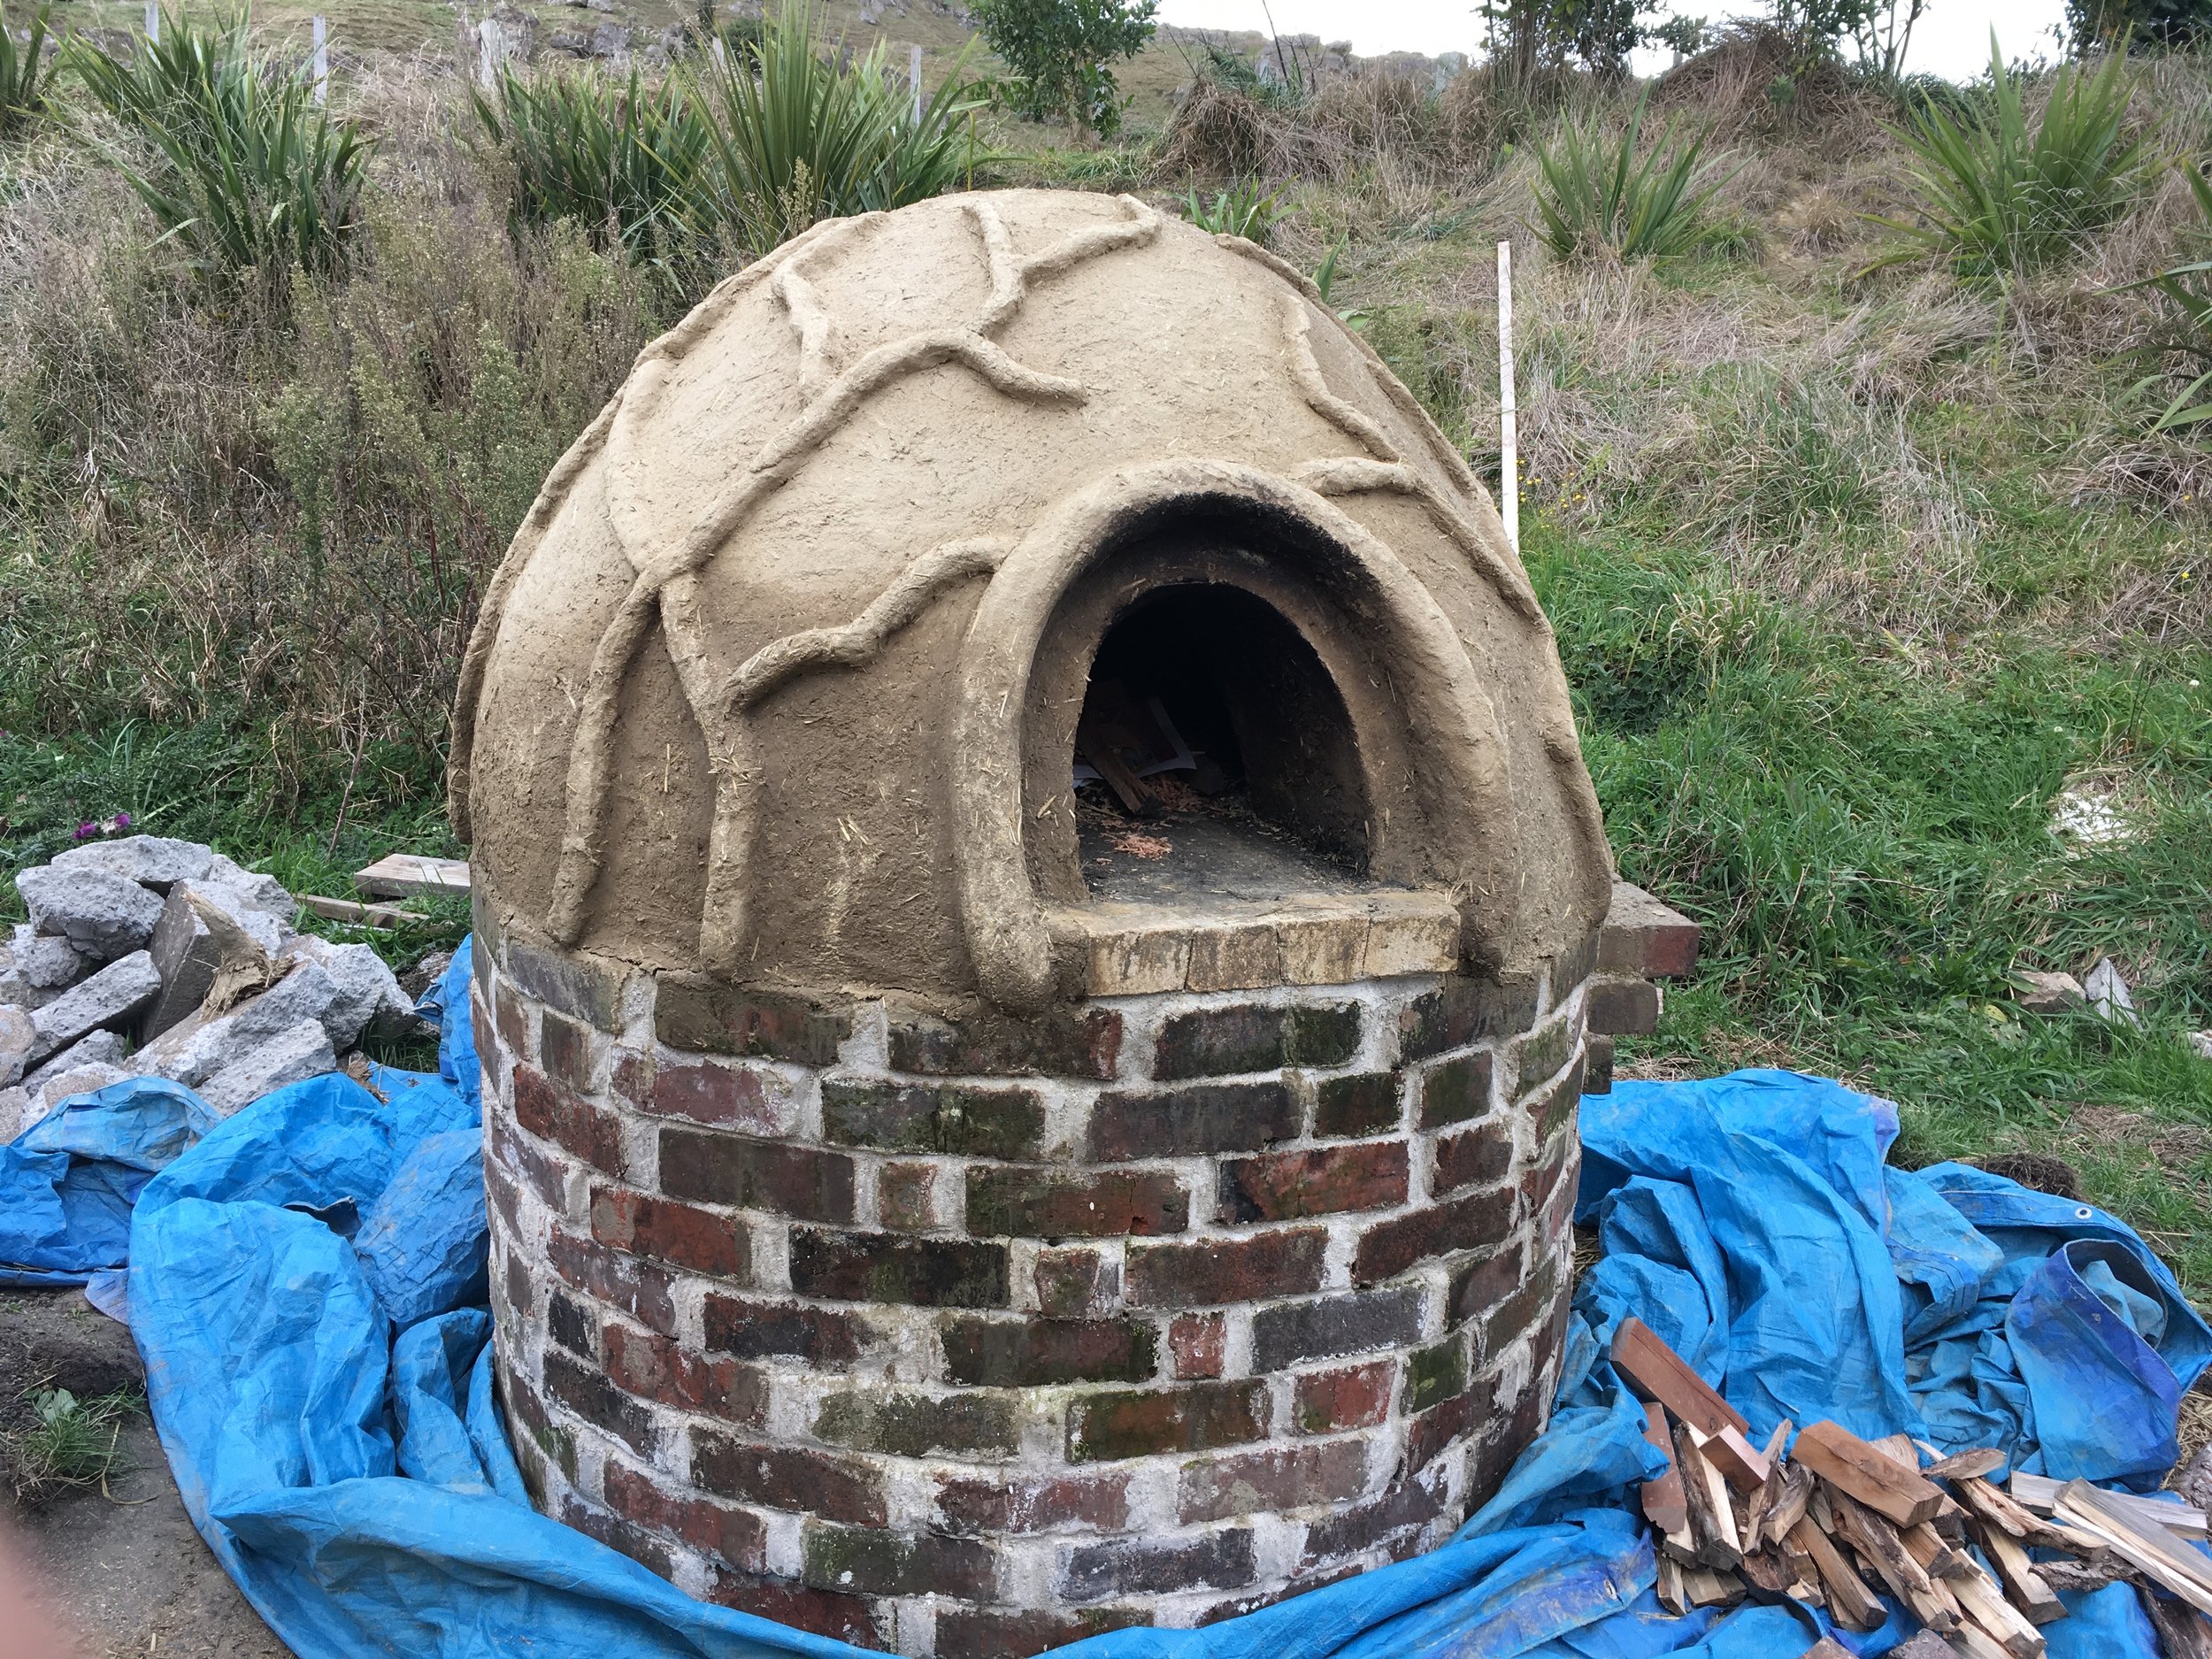
We kept on firing the oven, gradually… starting with small fires and building up, to dry the oven plaster from the inside-out. Apparently big fires too early come with a big risk of cracking, this required quite a lot of self control.

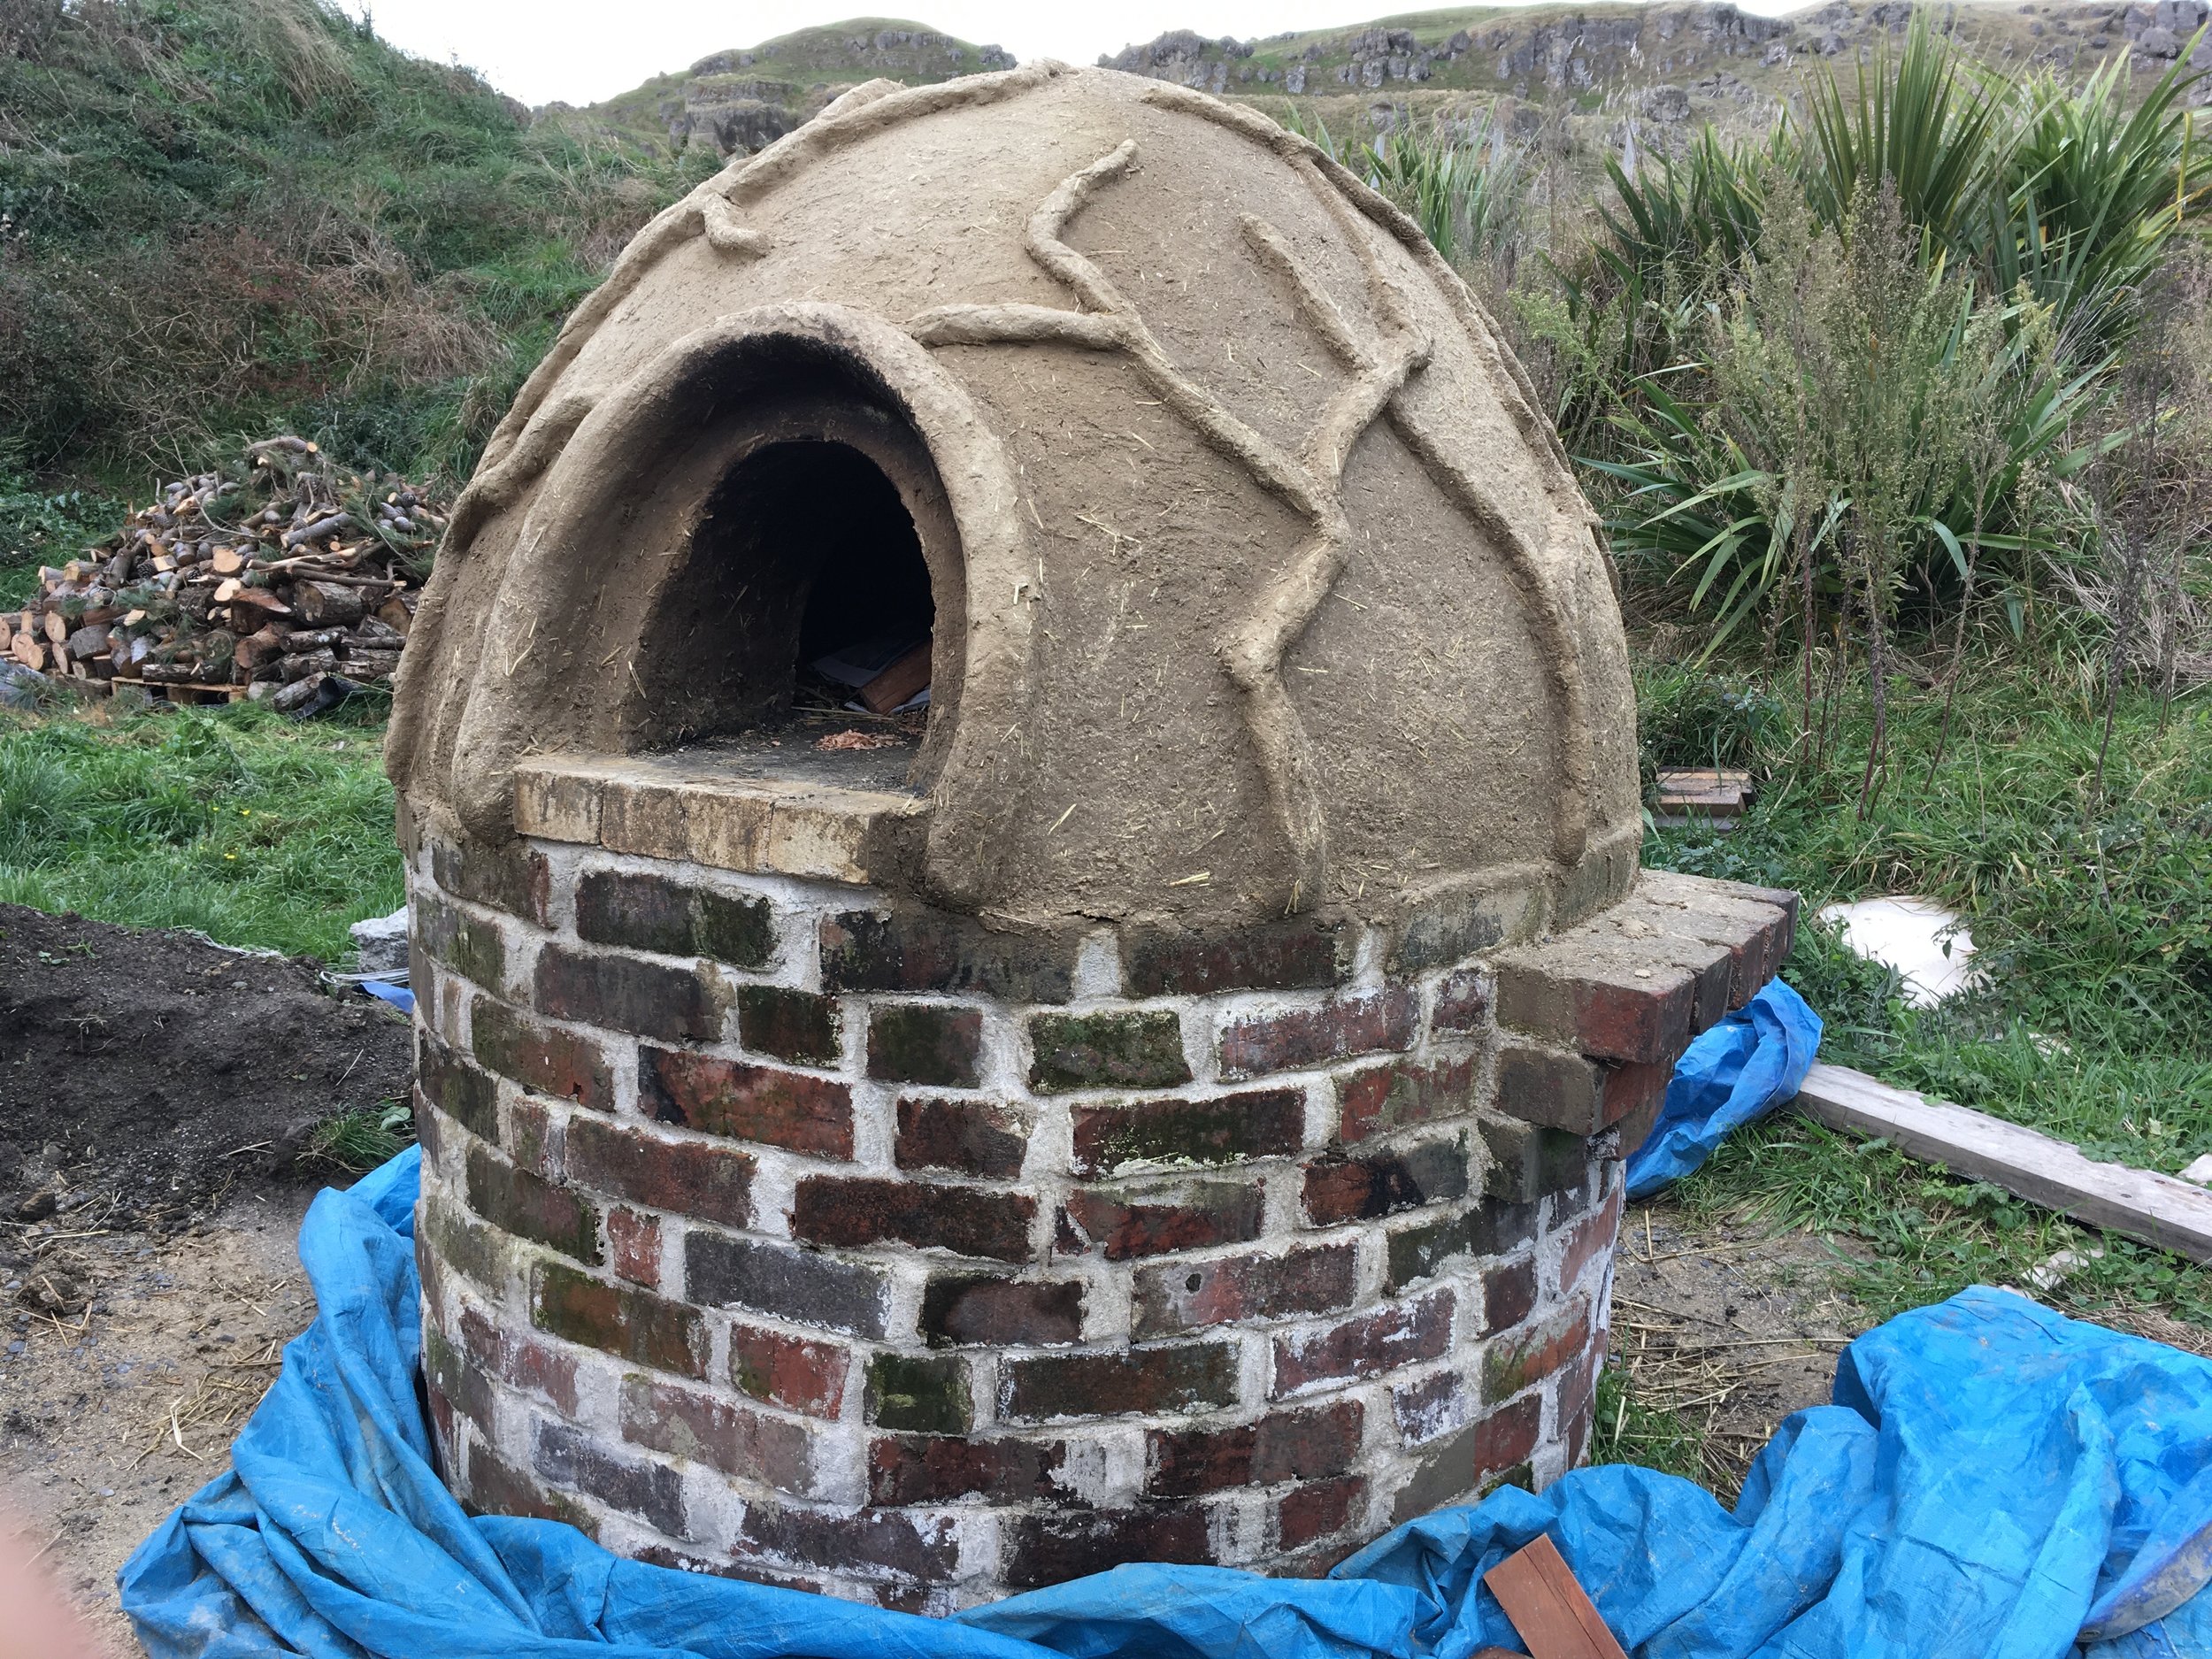
Vicki and Alessandra also continued the cabbage tree branch theme from the east wall of the house, creating a plaster relief on the pizza oven, awesome!

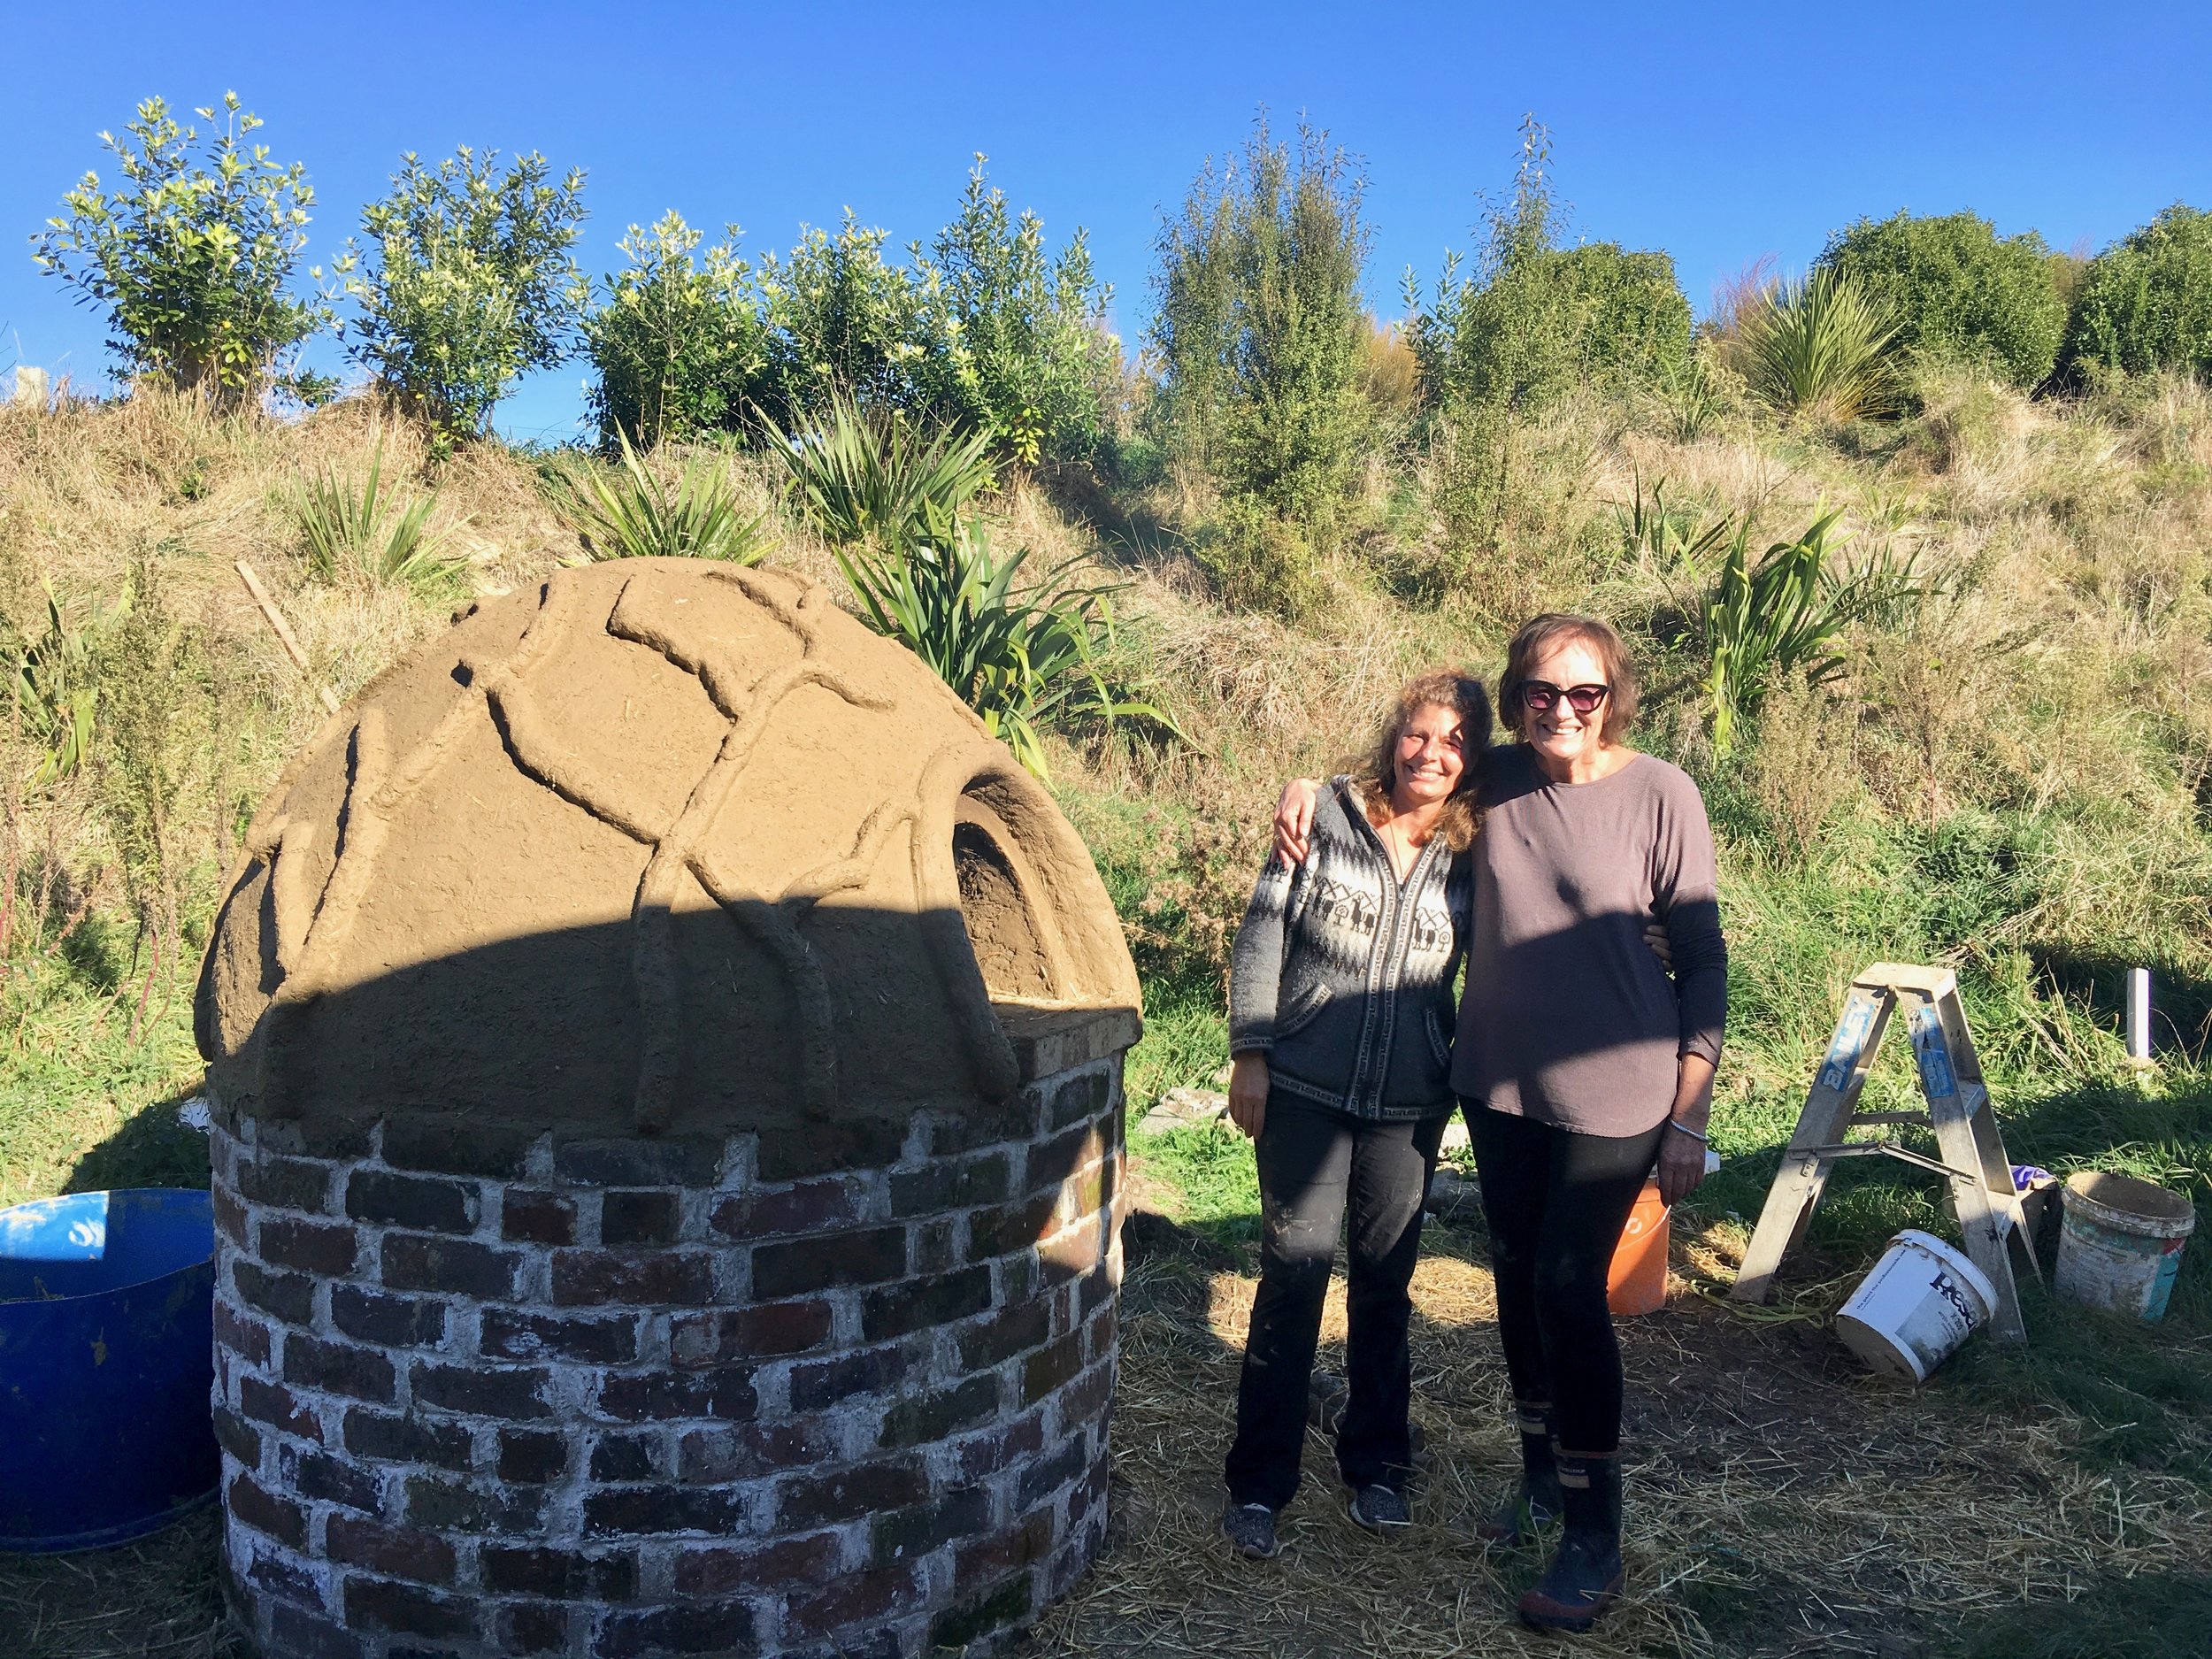
As the patient are always rewarded, it was “eventually” ..soon.. time to fire it up fully for our first pizza bake. Jontelle, Kenny, Ava and Georgia volunteered to be our taste testers and we had great fun, firing up the oven (2 ½ hours), preparing the pizza dough and toppings and then making, cooking (about 3 mins each) and eating (less than 3 mins) the pizza’s - yuuummmm… !!


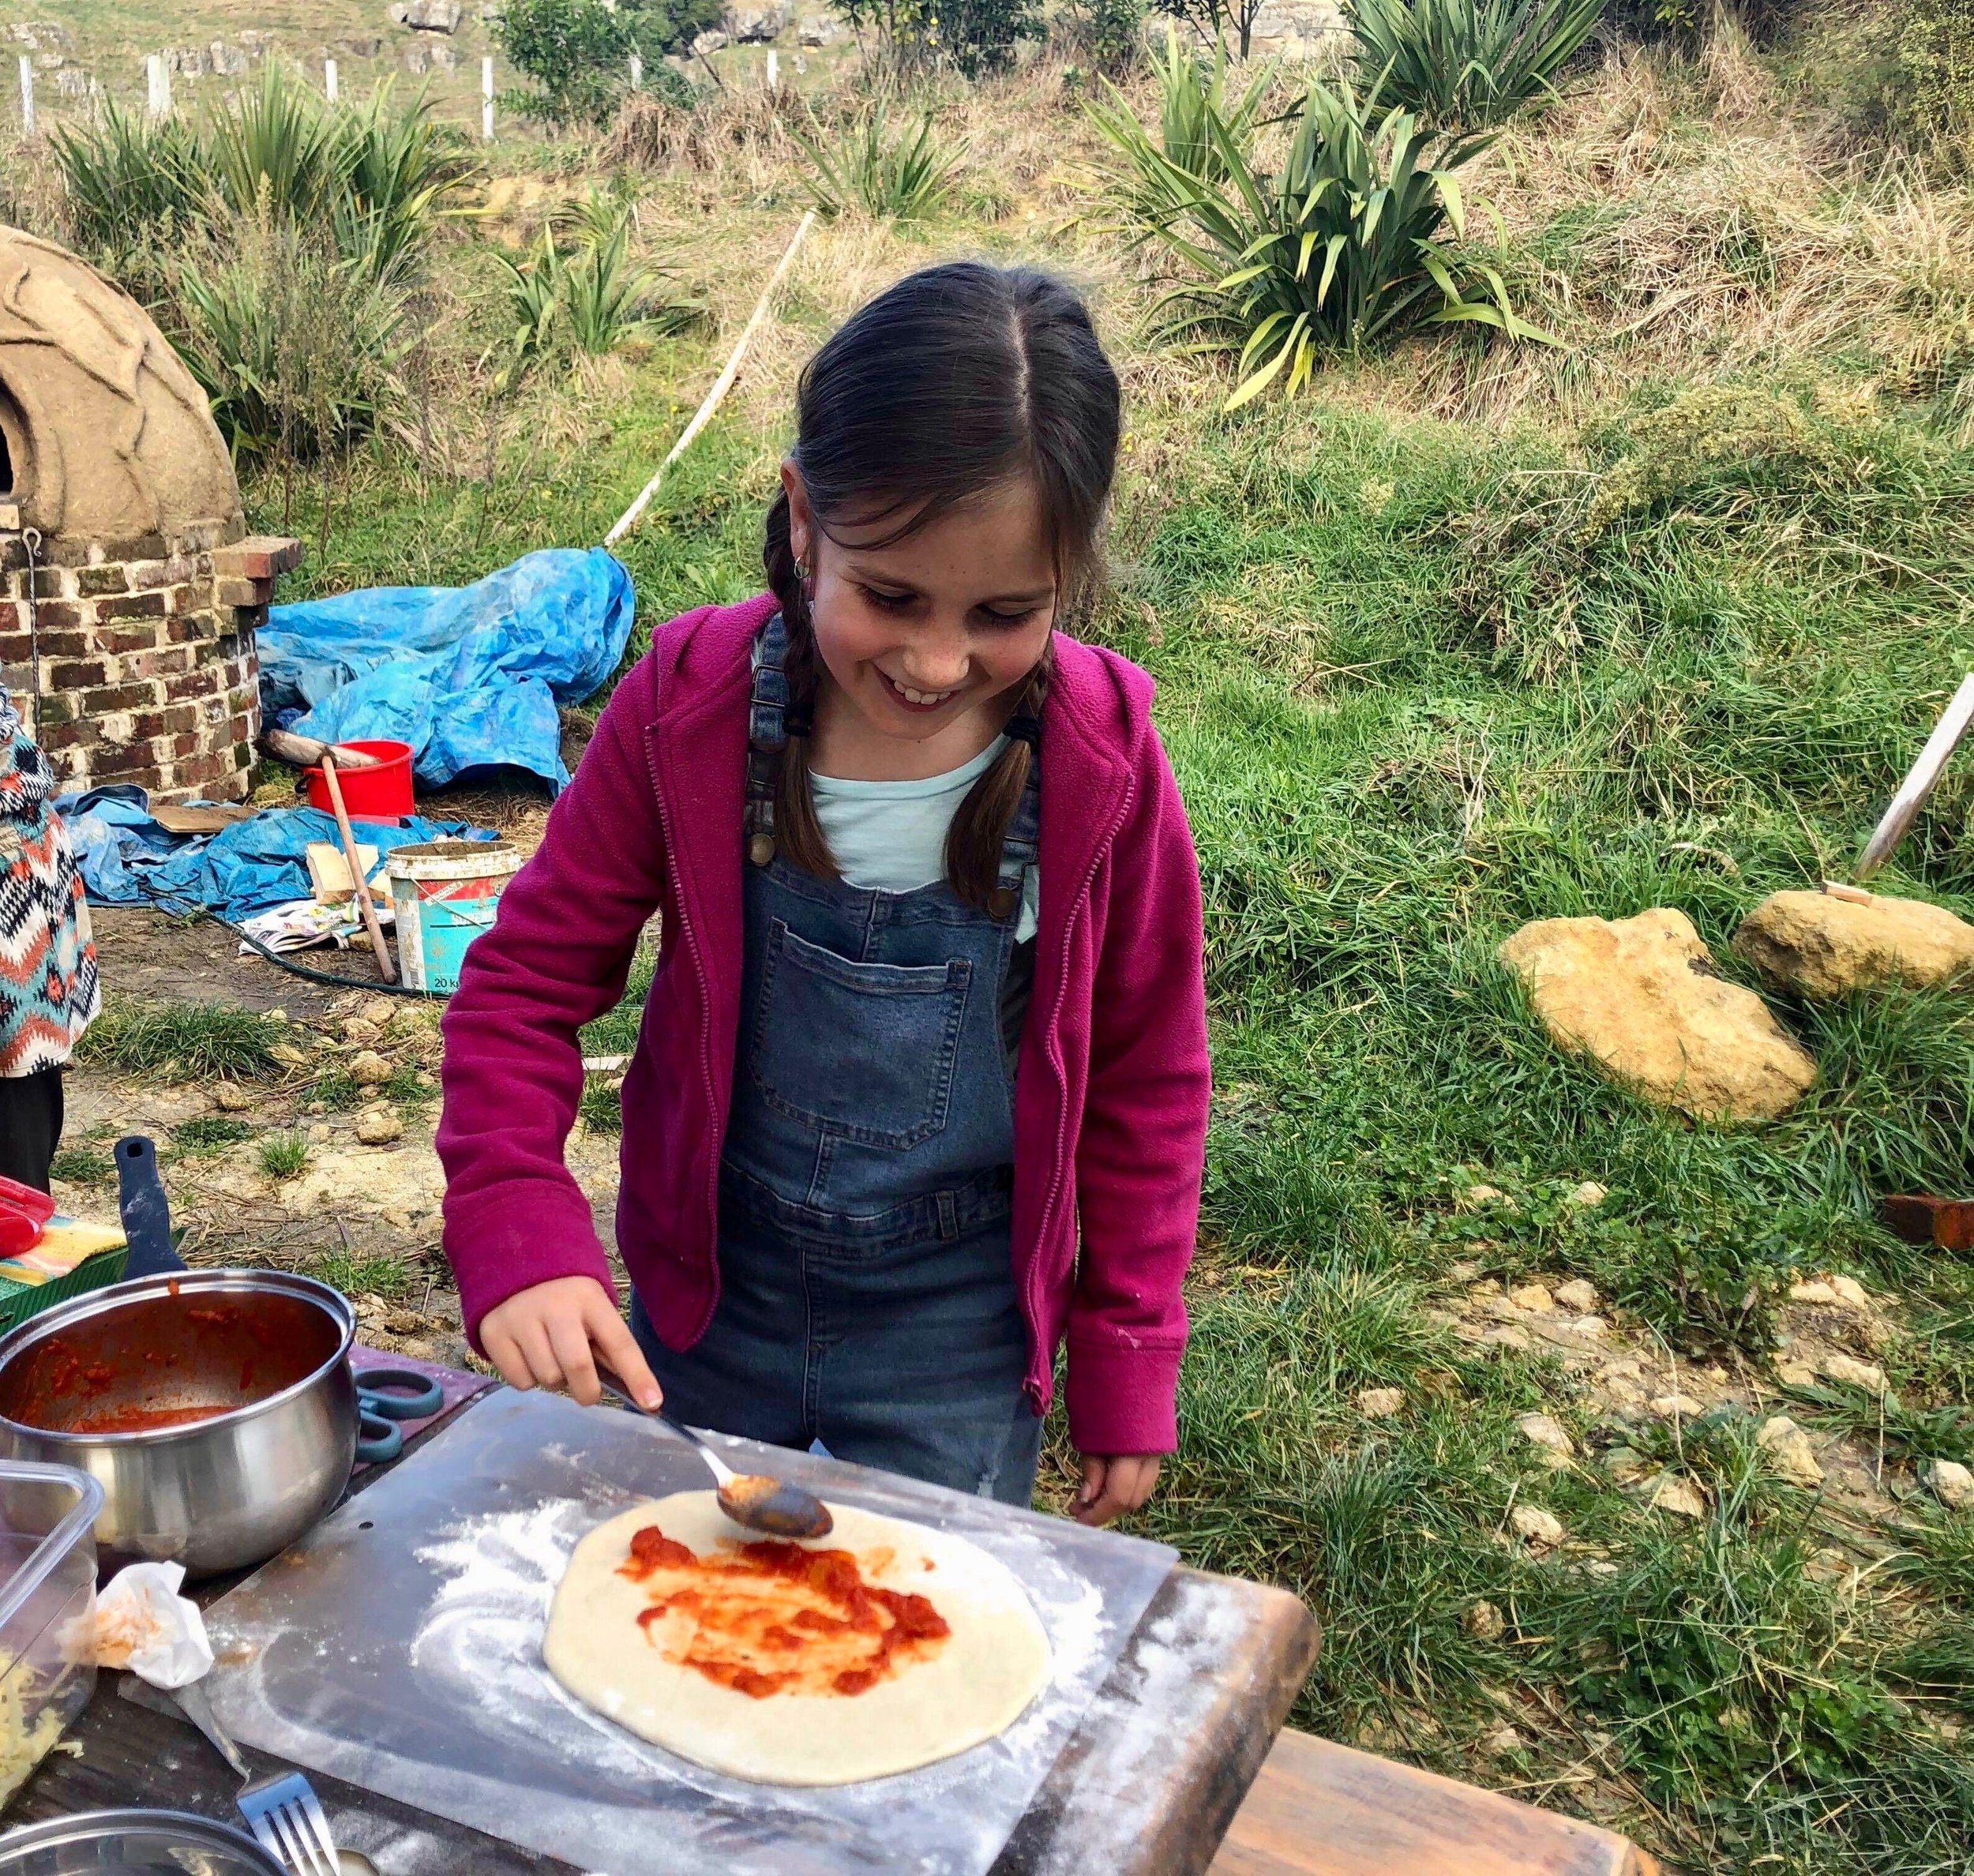


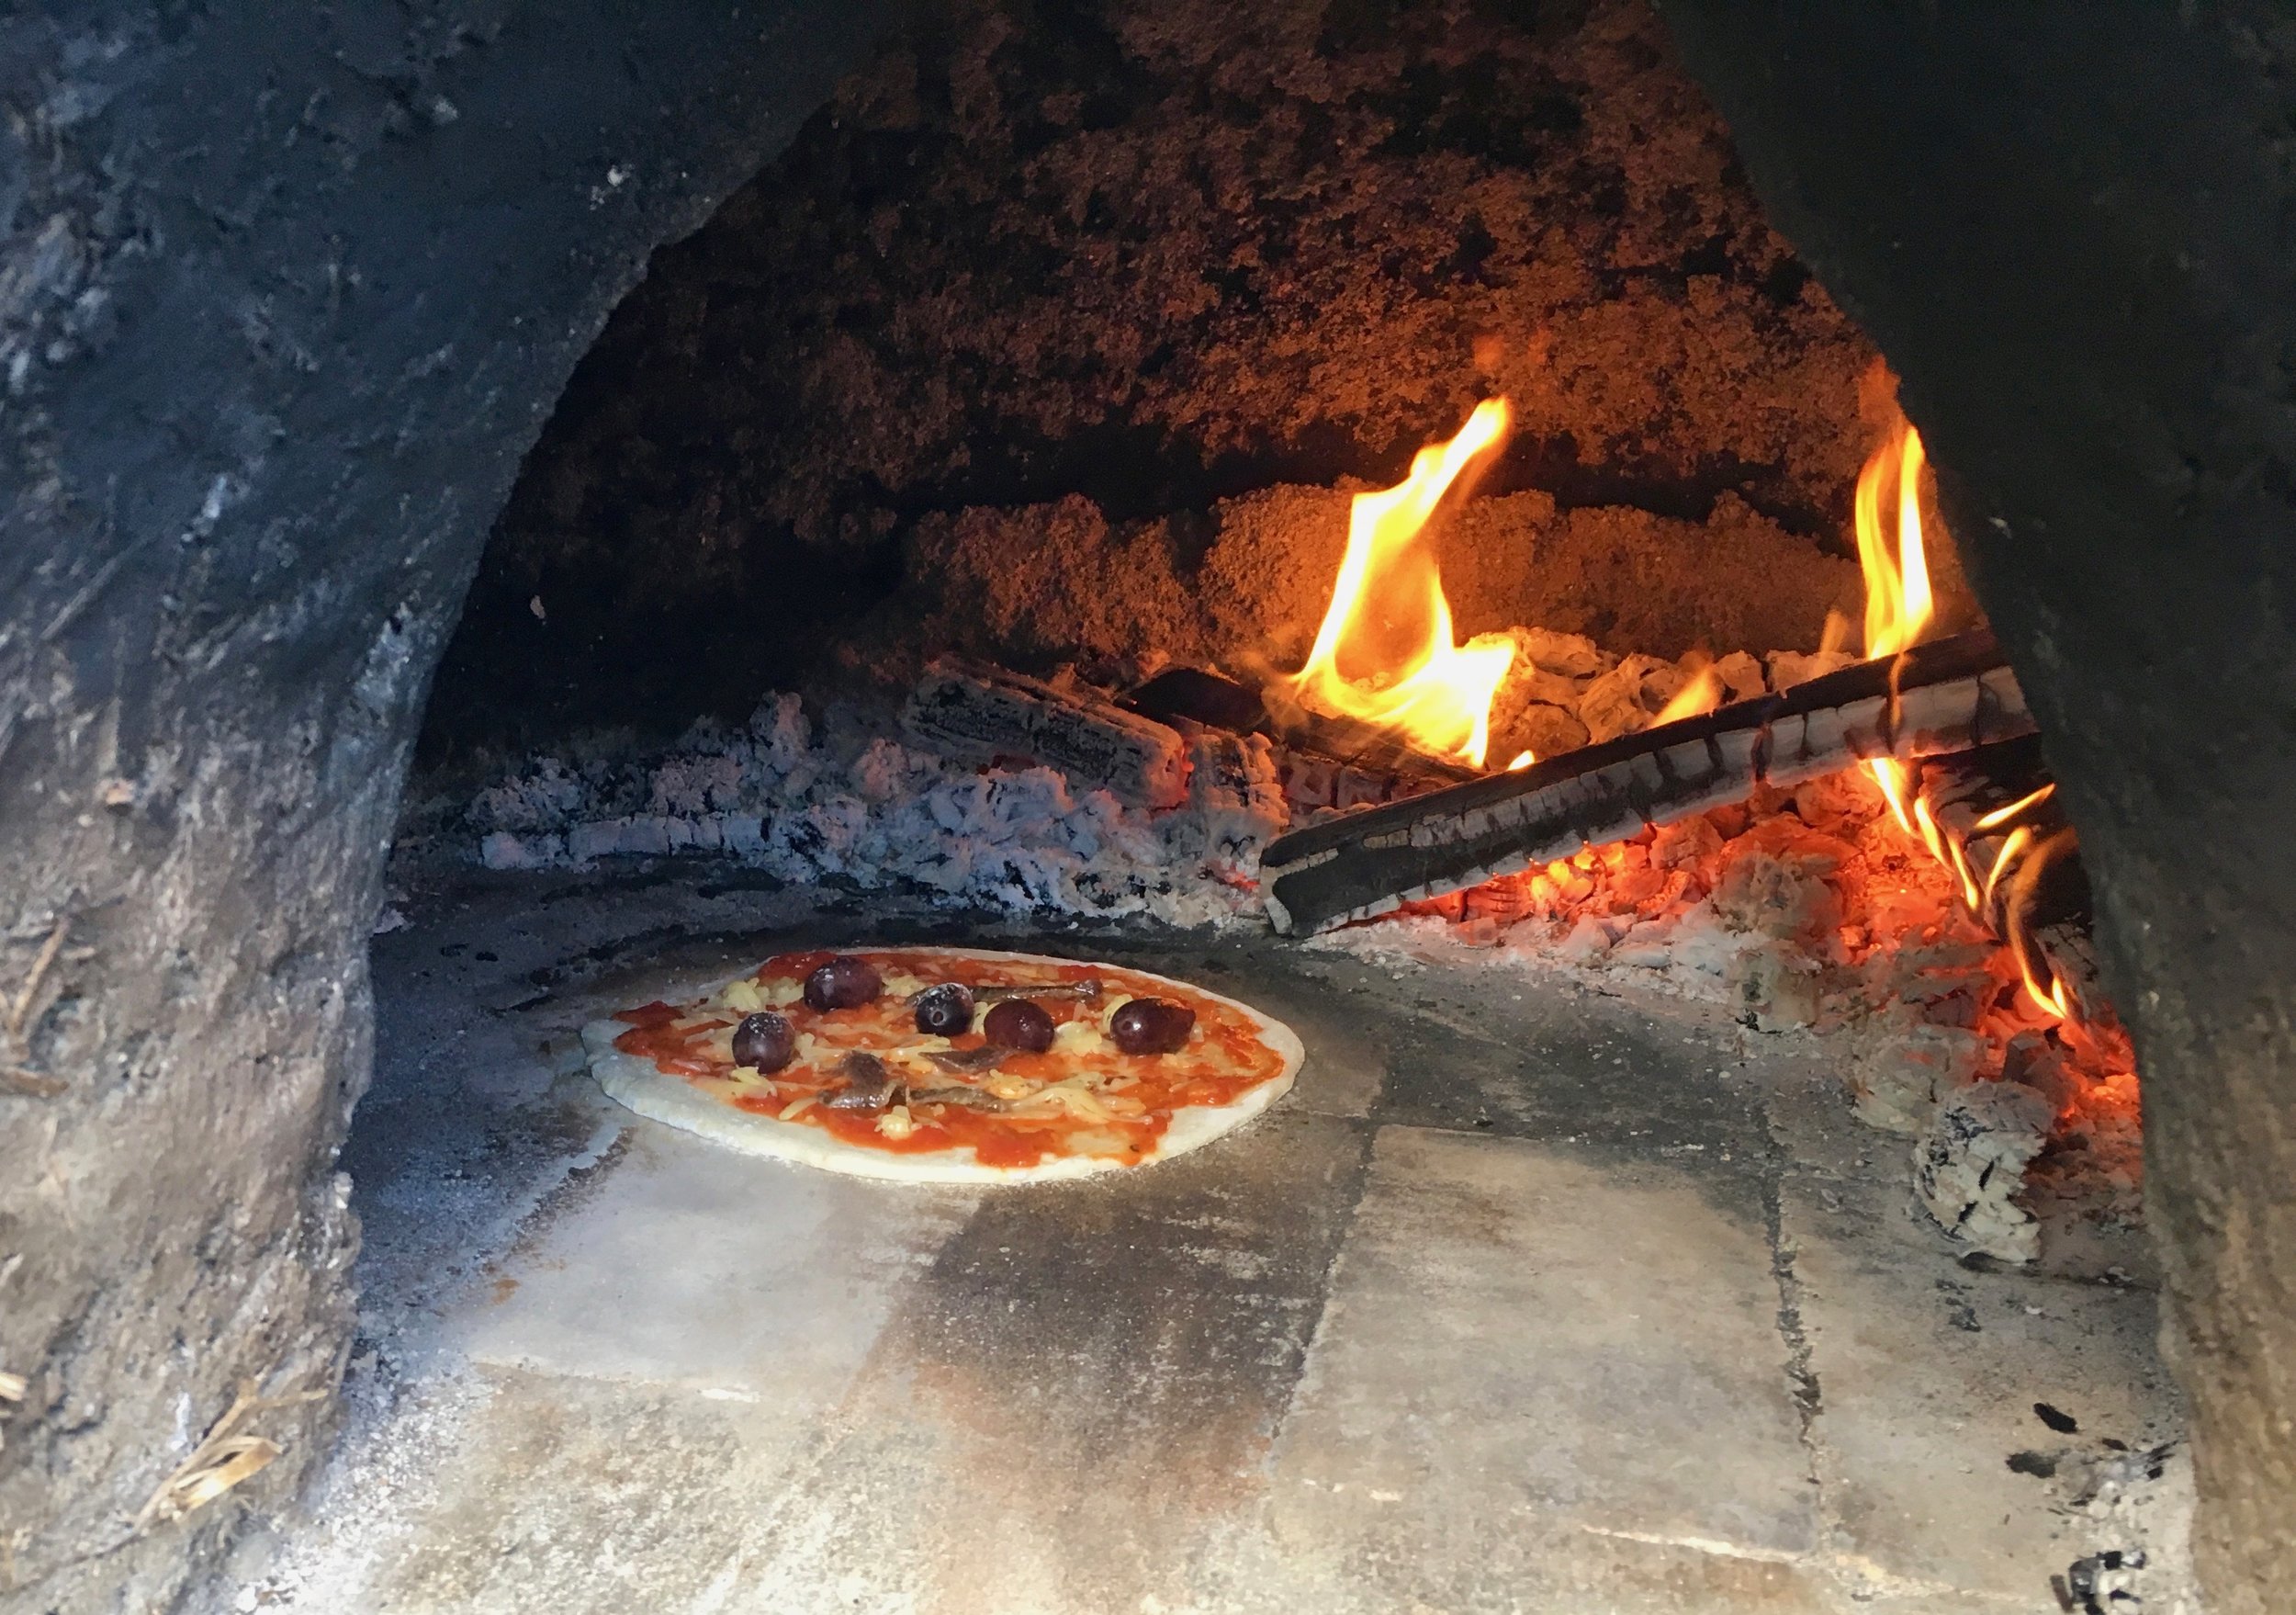
Our first pizza’s tasted great, and we learned a lot about the cooking process, fire handling and temperatures etc.. Of course we expect to continue refining our technique and understanding of our oven as we go.
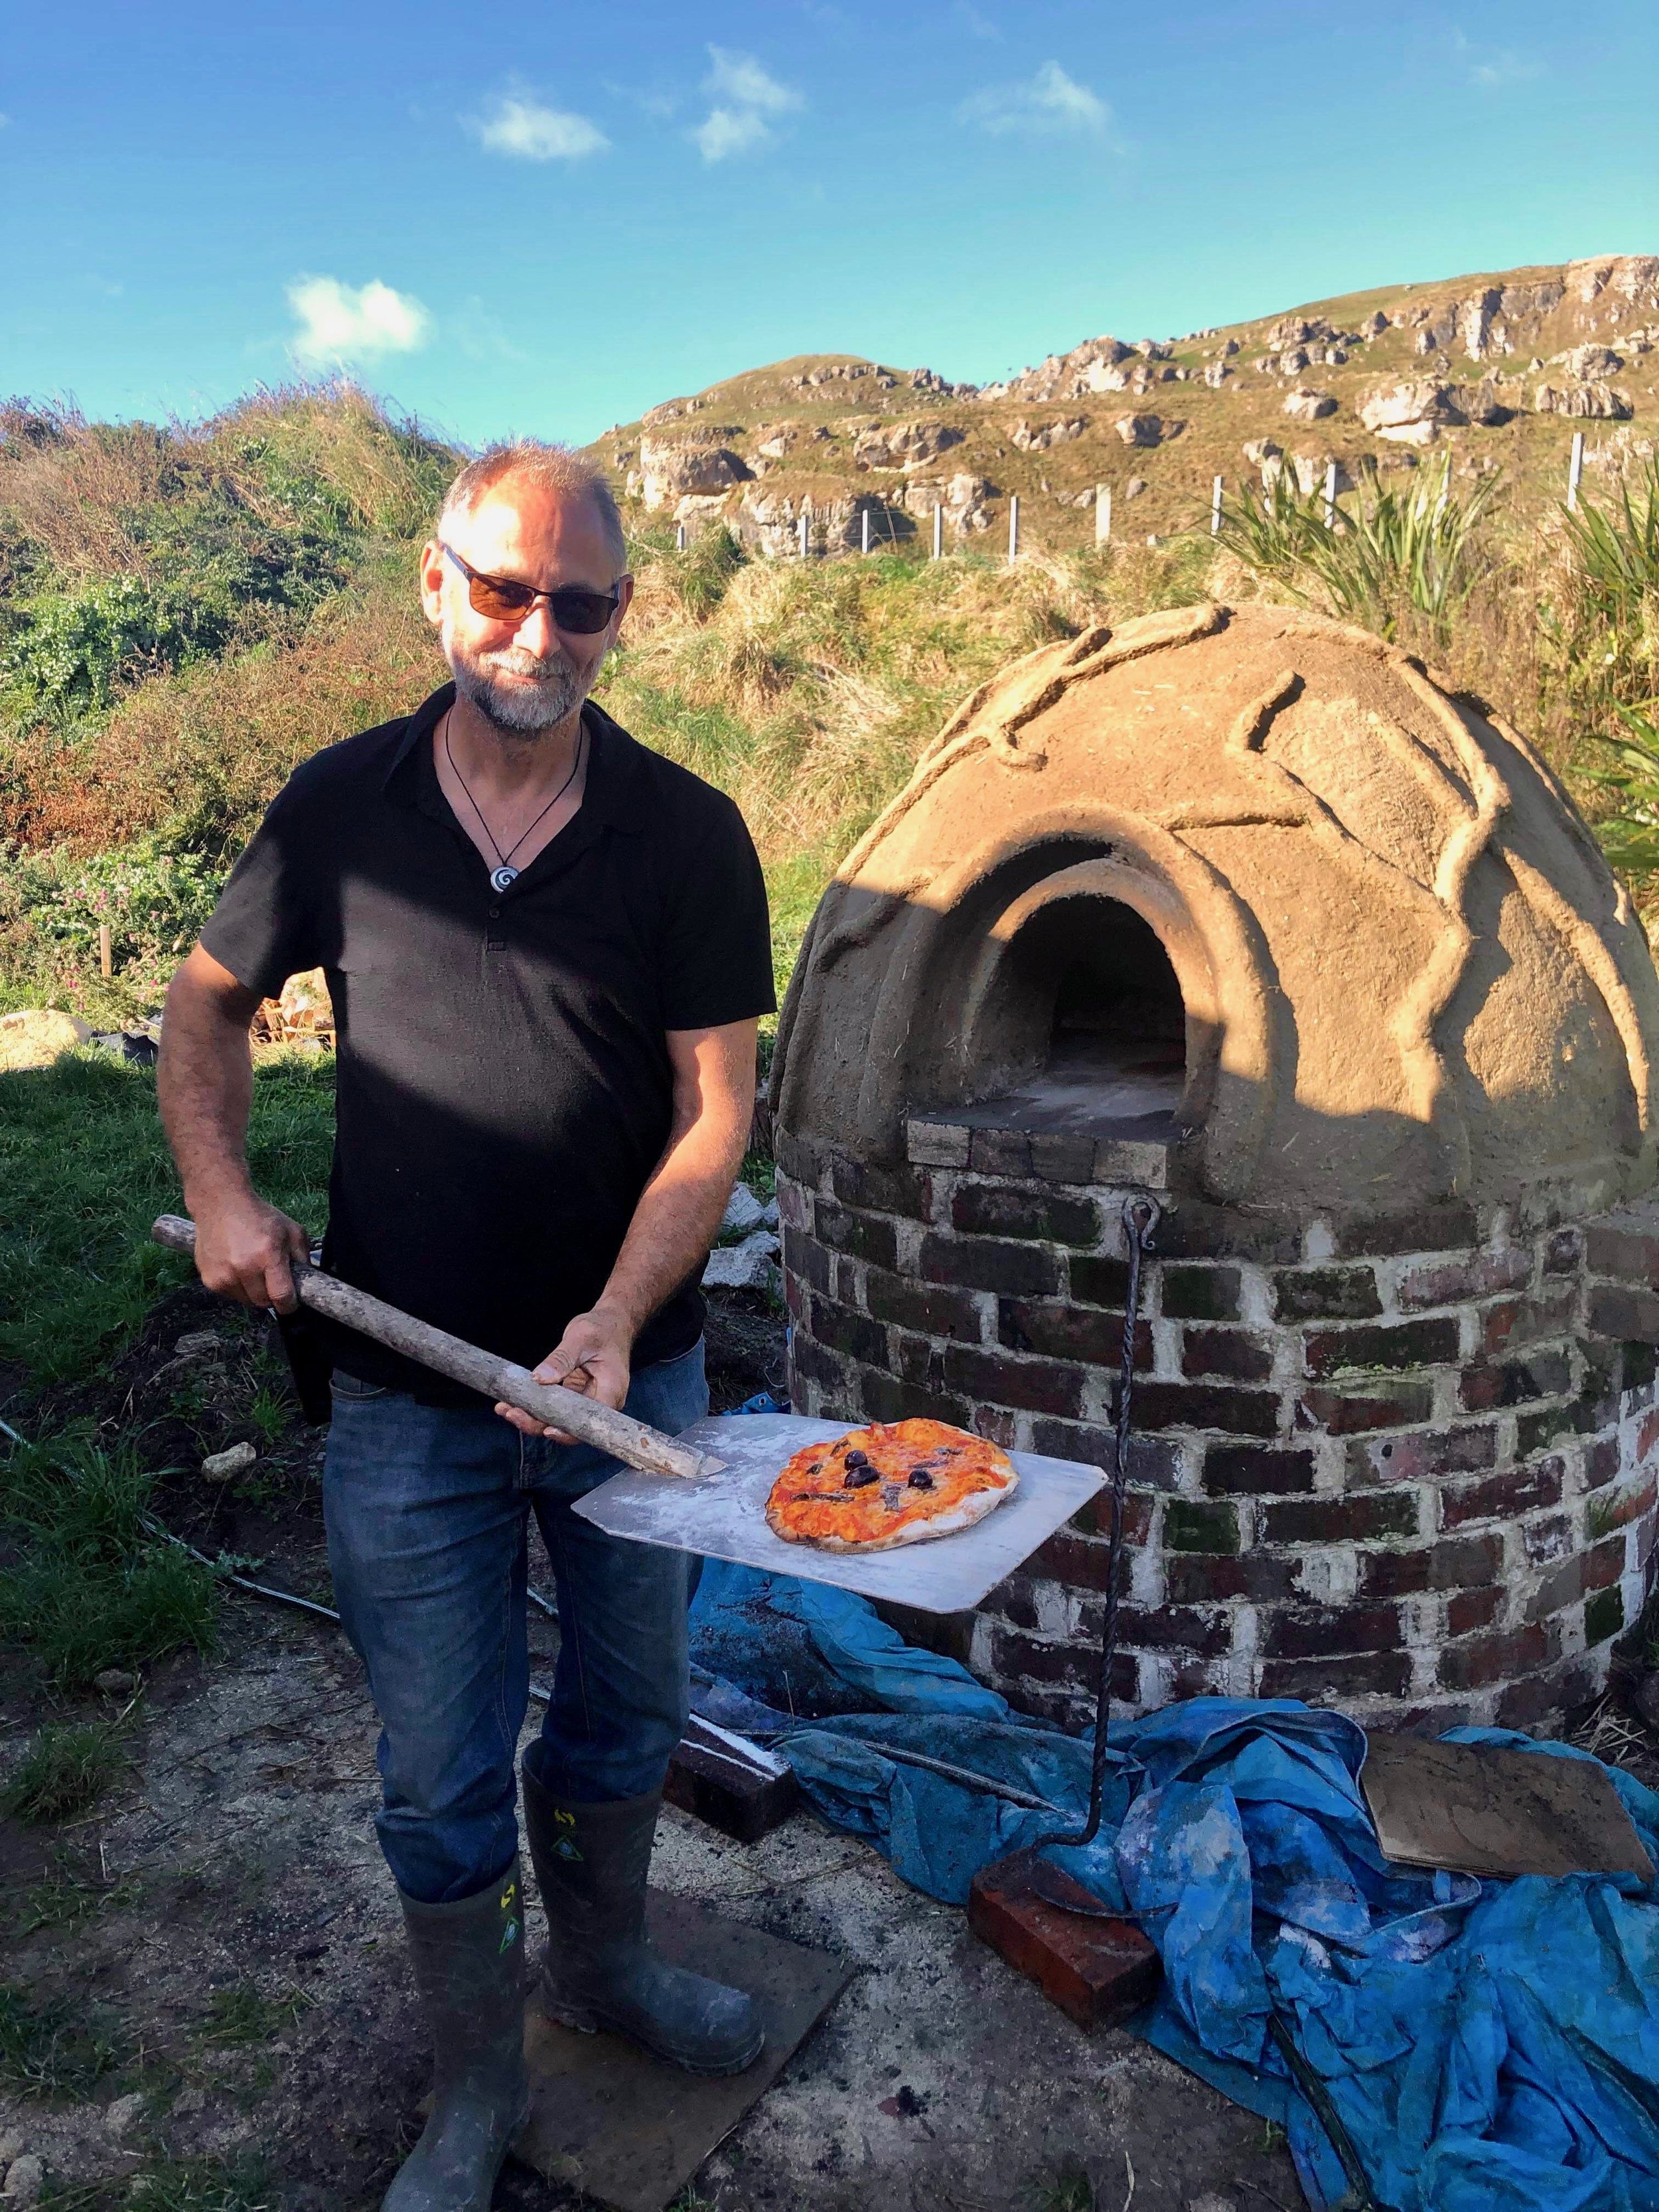


We borrowed Pats Pizza shovel for our first cook-up, thanks Pat :-). Alessandra, with help from Pat, has now made our own pizza shovel from some stainless-steel sheet and half a broom handle, and an oven floor ash brush from half the broom head and the other half of the handle - brilliant.
I ordered an infrared thermometer gun online to measure the oven floor temperature through the door opening, it was just $30 and it works great - point, shoot the laser spot onto what you want to measure and its shows the temperature anywhere from -55C to +530C. The upper end of that range was what I was looking for because the oven is heated up to 400C for pizza cooking!
We bought a used metal bucket for use as an ash can, grabbed a hearth brush and shovel, bought a wrought iron pizza oven rake from a traveling house truck fair/market that was passing through town and last but not least we re-purposed a used canvass outdoor umbrella cover (with some 3M water proofing, shock cord loops and tie down hooks added onto the oven base) as our own “custom-made” pizza oven cover.


Another pre-requisite for wood-firing pizza’s is to have some dry, fast/hot burning wood.. so we scored our first handful from John and Leslie to get started on cook-up umber 1, thanks :-) and we have had a hot mix cord of dry wood delivered now that will keep us going.
So the pizza oven is now fully functional, but we still have the bench for pizza shucking.. and the fire wood and gas bottle storage nooks to be built, and the BBQ and gas ring to install to complete the outdoor cooking area - I will post some more photo’s when it’s all done.
